
Text to Video AI for Short Scene Production
Text to video AI turns a shot brief into a clip. Choose a model by duration, framing, and audio needs, then review the result before scaling.
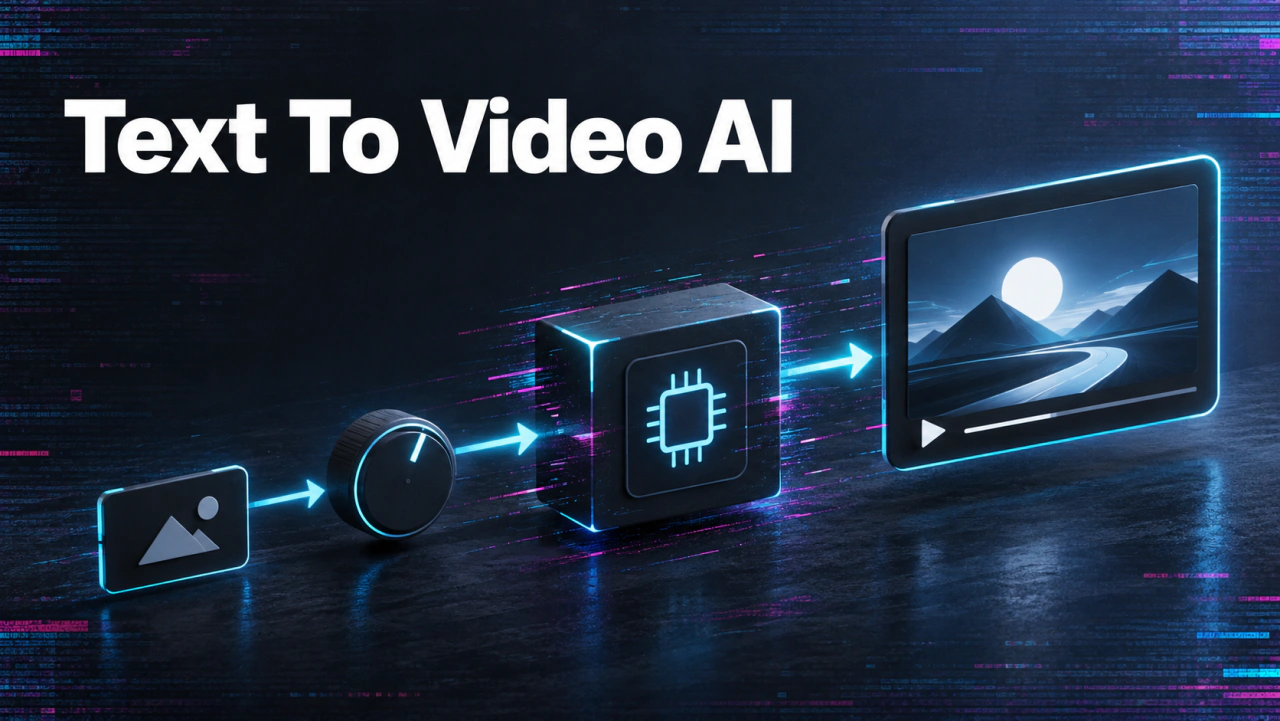
Create a text-to-video shot in 3 steps
Turn a clear shot brief into a controlled model test, then approve the complete clip rather than a single attractive frame.
Write the shot brief
Define the subject, action, framing, duration, and details that must remain consistent.
Choose and run a model
Match the input and output controls to the shot instead of relying on a generic ranking.
Inspect the full clip
Review motion, continuity, text, audio, and export fit before using or automating it.
Turn an idea into one shot brief
Describe what the viewer should see during a single clip. Name the subject, its visible action, the location, and the intended framing. Add camera movement only if it matters. A long paragraph full of style adjectives can obscure the one action that the model must get right. Separate narration, titles, transitions, and cuts that an editor will add later from details that belong inside the generated shot. These prompts are starting points, not examples of verified outputs:
- "A paper package rotates slowly on a neutral table; fixed camera; soft side light; label stays readable."
- "The same paper package turns a quarter circle on the table; fixed camera; the printed label faces the viewer at the end."
- "Close-up of that package on the same table; a hand gently turns it once; keep the printed label unchanged."
Match the model to the delivery constraint
Open the video generator with your target channel in mind. A vertical social placement and a wide website banner need different framing. Models also vary in supported clip duration, sound, and reference media, so a control seen on one model should not be assumed on all of them. The video-generator guide describes those model-specific inputs. As one concrete route, the Short Video Generator API documents a required prompt, optional reference images, aspect ratio, and duration. Its published aspect-ratio choices include 16:9 and 9:16, and its duration choices are 5, 10, or 15 seconds. It generates synchronized audio. Those are properties of this endpoint, not blanket limits or promises for every model in the catalog.
Review the clip before enlarging the project
Watch the output at normal speed, then inspect the start and end of the action. Check object identity, text, hands, and background movement. If it will sit beside another shot, compare color, scale, and motion across the edit. Revise one cause at a time. Reframe a wandering subject; remove camera motion that overwhelms the object. Reject a clip with a wrong label. Keep the prompt and output together.
Use an API when the shot recipe is stable
Once a prompt pattern works, the model page and API reference provide its request fields. Submit a prediction, store the ID, and retrieve the output. Keep each file with its prompt, model, aspect ratio, and review decision. Test difficult motion and text before increasing volume. Review each file against the brief before distribution.
Continue the workflow
FAQ
Is one prompt enough for a complete edited video?+
Usually not. A model can generate a clip from a shot brief, while a complete piece may also need ordering, titles, narration, music, and approval. Plan those as separate tasks.
Can I choose a vertical output?+
Yes for models that expose a vertical aspect ratio. The clip API reference lists 9:16. Check the model you choose before writing a delivery plan around it.
Will every model generate audio?+
No single rule applies to the whole catalog. That endpoint documents synchronized audio, but other routes expose different controls. Read the selected model's current schema.
How do I know whether a generated shot is usable?+
Compare it with a written shot brief at normal playback speed. Check the subject, action, framing, continuity, and any protected visual details before moving it into an edit.