Sora Watermark Remover Online: No Download Needed
Sora watermark remover online — 3 browser-based methods with no install required. Step-by-step workflows and real output expectations.

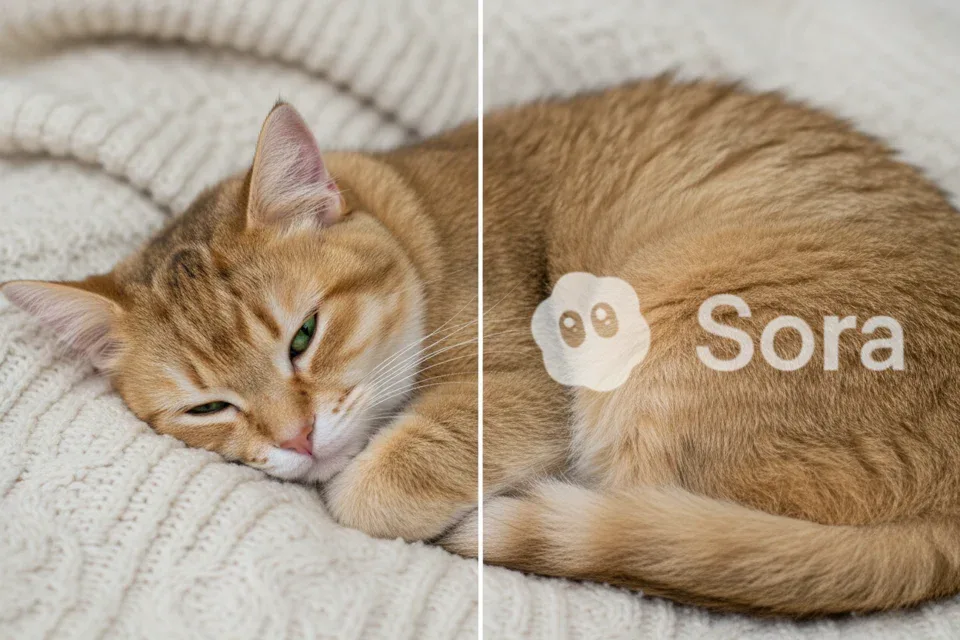
Hey, Dora is coming. There’s a specific kind of frustration that comes from finishing a Sora generation you’re genuinely happy with — and then noticing the watermark. It’s not hidden. It moves a little, sits in a fixed corner, and it’s clearly there by design. If you’re on a free or Plus plan, that’s just the default export.
So if you’re not on Pro, you have three practical options: browser-based AI inpainting tools, online video editors with object removal features, or API-based removal workflows. If you want a broader comparison of what’s currently available, this breakdown of free Sora watermark remover tools that actually work in practice is a useful starting point.

What You Need Before Starting
Browser and device requirements
All three methods below run in-browser, which means no software installation. A desktop or laptop with a modern browser (Chrome or Firefox, both current versions) handles everything reliably. Mobile technically works for some tools, but the review-and-export interface is usually awkward on a small screen — I’d stick to desktop if you can.
A stable connection matters more than you’d expect — upload times on 50MB+ clips can be slow enough that an interruption restarts the whole thing.
File format and size limits to check first
Most browser tools accept MP4 and MOV. Sora exports as MP4 by default, so format is rarely a problem. The real constraint is file size: free tiers typically cap uploads at 50–100MB. Sora clips are short but generated at high bitrates — a 10-second 1080p clip can push 60–80MB. Check the tool’s limit before uploading.
Method 1 — Browser-Based AI Inpainting Tools
The core technology behind most of these tools is video inpainting — a technique originally developed for film restoration. If you’re looking for a more complete breakdown of how different approaches compare, this guide on how Sora watermark removal actually works across different tools and methods goes deeper into the tradeoffs.
Step-by-step workflow
- Upload your Sora MP4 to the tool (check the file size limit first)
- The AI auto-detects the watermark position — most tools do this automatically without asking you to mark it
- A progress bar runs while the model processes frame by frame
- Preview the output before downloading — always watch the full clip, not just the first few seconds
- Export in your preferred format
Tested tools: BasedLabs, Media.io’s Sora Watermark Remover, and reel.money all follow this same basic flow. Processing times ranged from under a minute on short clips to around ten minutes on longer ones during peak load. Reel.money allows up to 20 videos per day on a free account.
Best clip types for this method
Inpainting performs best when the area underneath the watermark is relatively uniform — a sky, a wall, a neutral background. It struggles most when the watermark overlaps fast-moving foreground elements like hands or faces, because the model has to reconstruct motion it never actually saw. Clips under 15 seconds with some background visible in the watermark zone work cleanly. Anything with the watermark sitting directly over fast action will often produce a visible blur patch or subtle flicker on export.

Method 2 — Online Video Editors with Watermark Tools
A few established online video editors — CapCut Web, Clideo, and similar platforms — include object or logo removal as a dedicated feature. These are less specialized than the inpainting tools above, but they give you more control: you can manually draw a mask over the watermark region, adjust timing, and review frame by frame before export.
Step-by-step workflow
- Upload your clip to the video editor’s timeline
- Find the object removal or watermark erase tool — usually under “Effects” or “Tools”
- Brush over the watermark area to create a mask; adjust the mask if it shifts across frames
- Preview, refine if needed, then export
- Check for audio preservation — some tools strip audio during processing; Runway’s inpainting documentation notes this as a known edge case worth verifying before export
One practical note: some video editor export processes strip embedded C2PA metadata without warning, which matters if you’re distributing on platforms that check for content credentials.
Where quality usually drops
The weak spot is mask tracking: the Sora watermark shifts slightly in brightness and opacity across frames, and a static mask won’t follow it perfectly. You end up with a few frames where the removal is slightly off — subtle at normal playback speed, noticeable when scrubbing. For clips under 30 seconds on simple backgrounds this is manageable. Longer or more complex clips require real time on refinement.
Method 3 — API-Based Removal Without Local Install
This one is for developers or anyone building a workflow that processes multiple clips regularly. Tools like Kie.ai offer a Sora watermark removal API: you pass a publicly accessible Sora video URL, and the endpoint returns a processed file. No browser drag-and-drop, no manual review step — it’s designed to fit into a pipeline.
Who this suits
If you’re generating Sora clips in volume —the batch content for social scheduling, product demos, or client deliverables — the manual tool-by-tool process gets tedious fast. An API call handles the processing in the background and returns a clean file to whatever storage or publishing workflow you already have.
Basic steps to get started
- Register for API access (most offer free trial credits)
- Generate your Sora clip and obtain a public share URL from the Sora interface
- Call the removal endpoint with the video URL and your preferred output storage (S3 or similar)
- Poll for completion status, then retrieve the processed file
- Verify the output before using it downstream
The technical foundations are well documented — research from CVPR 2019 on flow-guided video inpainting laid the groundwork most modern tools build on: rather than filling each frame independently, the model traces optical flow to maintain consistency across frames. Well-implemented tools handle gradual camera movement reasonably well; fast-moving foreground objects are still the hard case.
Comparison Table
| Method | Speed | Output Quality | File Size Limit | Watermark on Output | Best For |
|---|---|---|---|---|---|
| AI Inpainting Tools | Fast (1–10 min) | Good on static backgrounds | 50–100MB | None (free tier) | Quick social clips |
| Online Video Editors | Medium (varies) | Adjustable | 500MB+ on some | None | More control needed |
| API-Based | Fast (automated) | Consistent | Depends on plan | None | Batch workflows |

FAQ
What if the tool leaves a blur patch?
This is the most common output problem. It usually means the watermark was over high-motion content — the model didn’t have enough background reference to reconstruct the frame accurately. The fix is either to try a different tool (some handle motion better than others) or to accept a slight composition crop to remove the problem area entirely. Cropping is underused as a solution: if your target platform uses a different aspect ratio than Sora’s default 16:9, reframing the crop so the watermark falls outside the frame avoids AI processing entirely — no quality loss, no artifacts.
Does free online mean watermarked output?
Not always, but check before you start. The better free tools — reel.money, BasedLabs on free credits — produce clean output without adding their own branding. Some mid-tier tools do add a subtle output watermark on free plans. It’s usually disclosed in the pricing section rather than the feature list.
Which method is fastest?
For a single clip under 15 seconds: AI inpainting tools, typically one to three minutes. For recurring batch use: the API approach, once the integration is set up. For anyone who wants manual control over the mask: online video editors are slower but give you the most ability to fix problem frames before you commit to an export.
One thing worth noting: OpenAI’s responsible launch guidance makes clear that all Sora videos carry both a visible watermark and embedded C2PA provenance metadata. Removing the visual mark doesn’t touch the metadata layer, which survives most re-encoding. The C2PA specification is designed to make that layer tamper-evident — so if you’re distributing through platforms that check for content credentials, the invisible signal often remains even when the visible one is gone.
I came away from this thinking these tools are genuinely useful for the cases they’re designed for. If you’re also exploring how these workflows connect to broader AI video editing pipelines, this overview of AI video face swap tools and how they fit into real-world workflows is worth reading next. The technical quality has gotten quite good. Whether it makes sense to use them is a different question from whether they work, and that’s worth sitting with for a moment before you start uploading.