ComfyUI Nano Banana Pro Workflow: Install, Nodes, and Best Defaults
A minimal ComfyUI Nano Banana Pro workflow with stable defaults, node layout, seeds, and upscale strategies for repeatable results.

You’re staring at the ComfyUI node graph, Nano Banana Pro installed but nothing seems to fire right—sound familiar? Picture this: a clean install, all key nodes placed just right, and best defaults already solving your first inference run without tweaks. I’m your friend, Dora. I walked this path many times, and in this article we’ll walk through installation, essential node setups, and the defaults that turn confusion into smooth workflows.
When ComfyUI is worth it
I reach for ComfyUI when I need control that doesn’t fight me later, prompt routing, seeds, resolutions, and a clean way to repeat a result. Text-to-image in a single box is fast, but small changes get muddy. In ComfyUI, I can see what’s happening and nudge one thing at a time.
A few cases where it pays off:
- Iterating on a visual style where the seed matters and I’ll need to reproduce it next week.
- Mixing SDXL and SD1.5 models in the same day and not wanting to relearn a UI each time.
- Keeping a record of how an image was made. ComfyUI writes the graph into PNG metadata by default. That’s gold.
I don’t open ComfyUI for quick moodboard fodder or throwaway thumbnails. It shines when the path from prompt to output should be legible. The ComfyUI Nano Banana Pro Workflow lives in that zone: small enough to load in seconds, clear enough that Future Me won’t swear at Past Me.
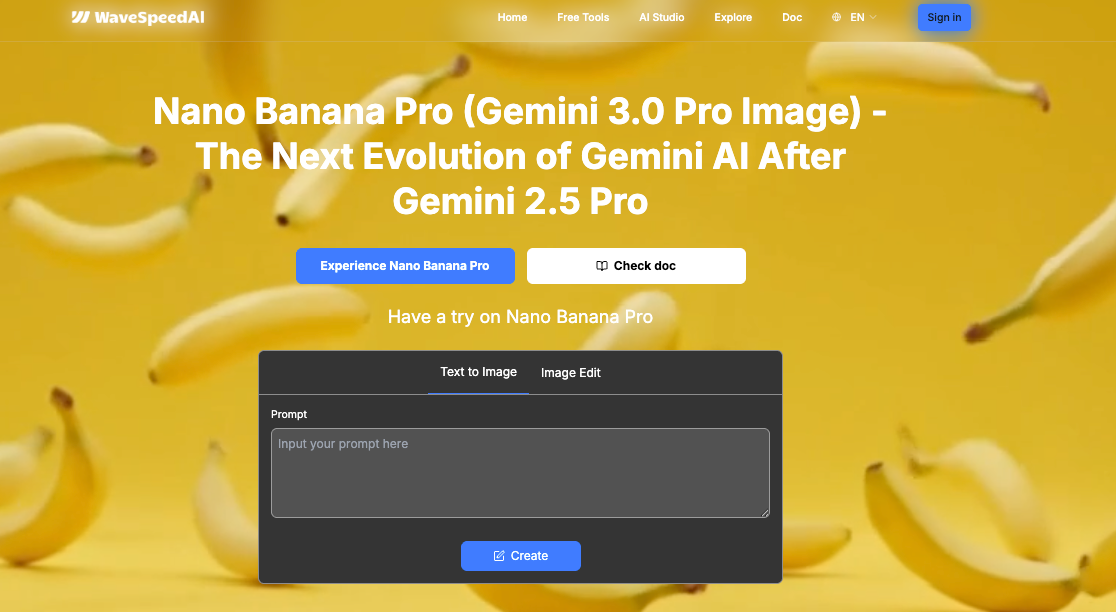
If you ever need the same kind of predictability on the API side — fixed routing, no surprise model swaps, clear usage visibility — our WaveSpeed focus on keeping model access stable and transparent, so the infrastructure doesn’t become another thing you have to babysit.
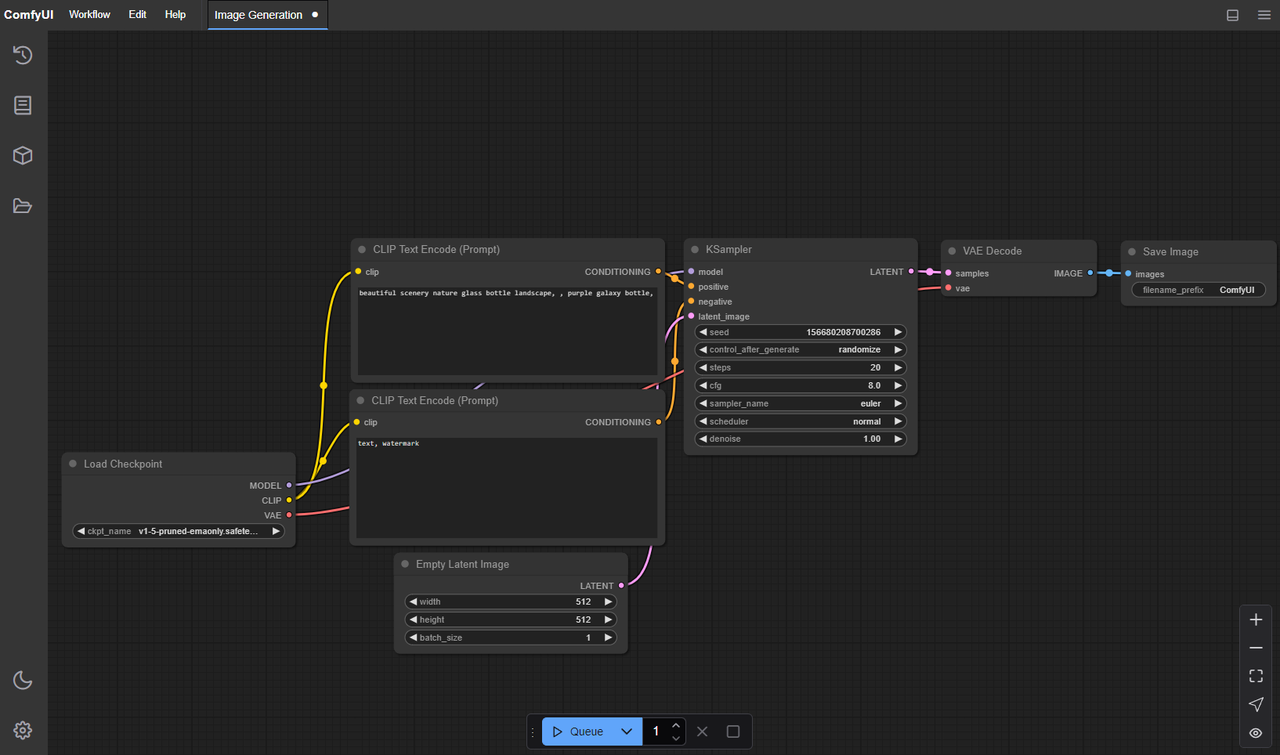
Minimal node graph
I pared the graph down until removing one more node made it worse. The core is the same for SD1.5 and SDXL: I just swap the checkpoint and resolution.
Here’s the spine I landed on:
- Checkpoint Loader (model + CLIP + VAE together)
- CLIP Text Encode (positive)
- CLIP Text Encode (negative)
- Empty Latent Image (size, batch)
- KSampler (sampler, steps, CFG, seed)
- VAE Decode
- Save Image
Optional, but still light:
- Latent Upscale (if I want bigger images without re-sampling from scratch)
- Image Scale (for final pixel resize)
The quiet win here is one KSampler per render. I tried chaining fancy refiners and schedulers, but the graph got noisy and the outputs got less predictable. With this minimal rig, I can switch models and keep my mental map intact.
Field note: I keep the prompt nodes close to the sampler and push the image nodes to the right. When I glance at the graph, I can see “words → latent → decode → save.” It sounds obvious, but the layout affects how calmly I work.
Recommended defaults
Defaults are where I save my future self the most time. These are the values I set and rarely touch unless there’s a reason.
Model/resolution:
-
SD1.5: 768×768 for square. It gives more detail than 512 without straining VRAM.
-
SDXL: 1024×1024 when I actually need SDXL: otherwise I stick to 832×1216 or 1216×832 for portraits/scenes. Divisible by 64 keeps the sampler happy.
 Sampler/steps/CFG (KSampler):
 -
Sampler: DPM++ 2M Karras
-
Steps: 18–24 (SD1.5), 22–28 (SDXL)
-
CFG: 4.5–6.5 depending on prompt strength
Negative prompt:
- Keep a small, stable set. I use “blurry, extra fingers, overlapping limbs, watermark, low-res, jpeg artifacts.” It’s boring on purpose.
Batching:
- Batch size 2–4 when exploring, batch count 1. If VRAM is tight, use batch count instead of batch size to avoid spikes.
These defaults produce results that are “good enough” and predictable. When I need something sharper or more stylized, I change one thing at a time and roll it back if it doesn’t help.
Consistency settings
Consistency is mostly about not letting small drifts compound. A few levers matter more than the rest.
Seed discipline:
- Lock the seed once you see a direction you like. I’ll explore prompts with a fixed seed, then duplicate the node and try a new seed to check robustness.
Prompt length:
- Short prompts stabilize faster. If I catch myself writing a paragraph, I split it: subject, style hint, lighting. Three lines beat one ramble.
CFG sanity:
- Too high and you stamp out the model’s learned structure: too low and you get mush. Most of my steady outputs land at CFG 5–6.
Resolution changes:
- If I upscale latents by 1.5–2×, I keep the same seed and sampler. Big jumps (like 512→2048) change the feel: I avoid them unless the style can handle it.
Version notes:
- I tested this in January 2026 with current ComfyUI builds and common SD1.5/SDXL checkpoints. Schedulers evolve, but the seed/CFG balance stays useful across versions.
 In practice, these habits cut re-renders. Over a week, I felt a small but real gain, maybe 3–5 minutes saved per image set, but more importantly, less second-guessing.
Upscale strategy
I try two paths and pick the calmer one for the project.
Path A: latent upscaling
- Use Latent Upscale (1.5× or 2×) before VAE Decode.
- Reuse the same seed and sampler settings.
- Pros: keeps details coherent: cheap on memory.
- Cons: push it past 2× and artifacts creep in.
Path B: image resize after decode
- Decode first, then Image Scale to target (Lanczos works well), optionally a light sharpen.
- Pros: quick, predictable sizing for layout needs.
- Cons: you’re stretching pixels, not inventing new detail.
If I’m delivering a poster-sized image, I’ll sometimes do a hybrid: 1.5× latent upscale, decode, then a small image resize to hit exact dimensions. It’s steady and avoids the “smudged upscale” look without chasing exotic nodes.
Common node errors
These are the snags I hit most, and how I nudge past them.
- Model/CLIP mismatch: If outputs look “off” in a way that isn’t stylistic, check the checkpoint, CLIP, and VAE are aligned. The single Checkpoint Loader helps avoid cross-wiring.
- Size not divisible by 64: Latents like clean multiples. If a node complains or images crop weirdly, I round dimensions to the nearest 64.
- CUDA OOM: Lower batch size first. If that’s not enough, drop resolution by one step (e.g., 1024→896) before touching steps.
- Seeds not actually fixed: Some graphs reinitialize seeds quietly. I wire a Seed node or type it directly into KSampler and watch the preview for drift.
- Negative prompt not connected: When I forget, I get “louder” images. I keep the negative encoder node visually close to the positive one to avoid dangling wires.
None of this is dramatic, but catching them early keeps the session calm.
Export tips
I don’t want to hunt for settings later. Two habits help.
- File naming: In Save Image, I set a pattern with seed and model name in the filename. When a client asks for “version 3, same style, larger,” I can trace it.
- Embedded workflow: ComfyUI writes the graph into PNG metadata. If I need to share or revisit, I load the PNG back into ComfyUI and the graph reconstructs. No extra notes needed.
- JSON backups: I still export the workflow JSON when I change something structural. One tiny template per model family keeps things clean.
Small detail: I keep outputs in dated folders. It’s not fancy, but it’s the difference between “found it in 10 seconds” and “where did that go?”
Template download idea
 I’ve been thinking about sharing a single ComfyUI Nano Banana Pro Workflow template with two tabs inside the graph: one sized for SD1.5, one for SDXL, same node order, same sane defaults. You’d swap the checkpoint, set your prompt, and choose latent or image upscale.
It’s basically the graph I use now, quiet, labeled, and light enough to understand at a glance. And if you prefer heavier graphs with stylizers and refiners, that’s fair. I like seeing what changes when I move one dial.
I’ll keep trimming it. One small change at a time is still the fastest way I know to get to something I trust.
Related Articles

Claude Code Agent Harness Architecture: Key Insights from the Leak
Claude Code Undercover Mode: What the Leaked Source Actually Reveals

Claude Mythos API & Pricing: What Builders Need to Know Before Launch

GLM-5V-Turbo: What Developers Should Know in 2026

WAN 2.7 vs Seedance 2.0 vs Sora 2 vs Veo 3.1 Fast: Image-to-Video Comparison