Vidu Start-End to Video converts a start and end image into a smooth transition Image-to-Video clip that morphs scenes seamlessly. Ready-to-use REST inference API, best performance, no coldstarts, affordable pricing.
Idle
$0.2per run·~50 / $10
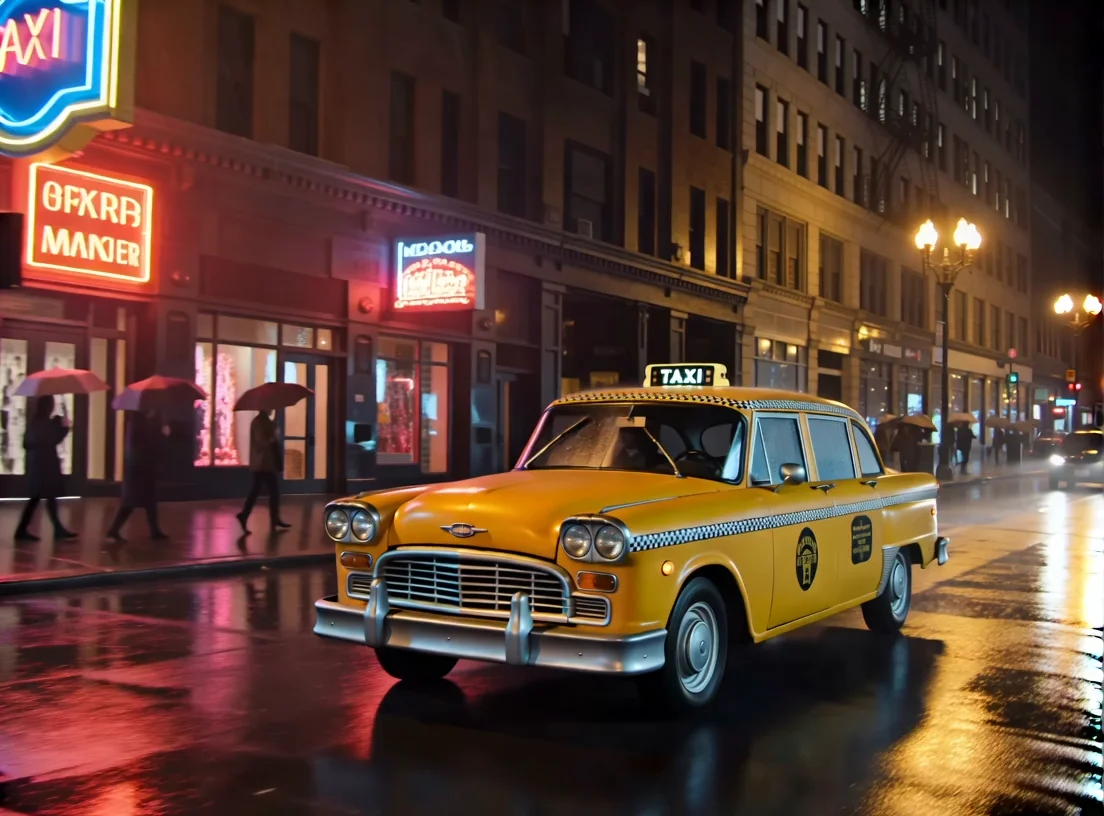
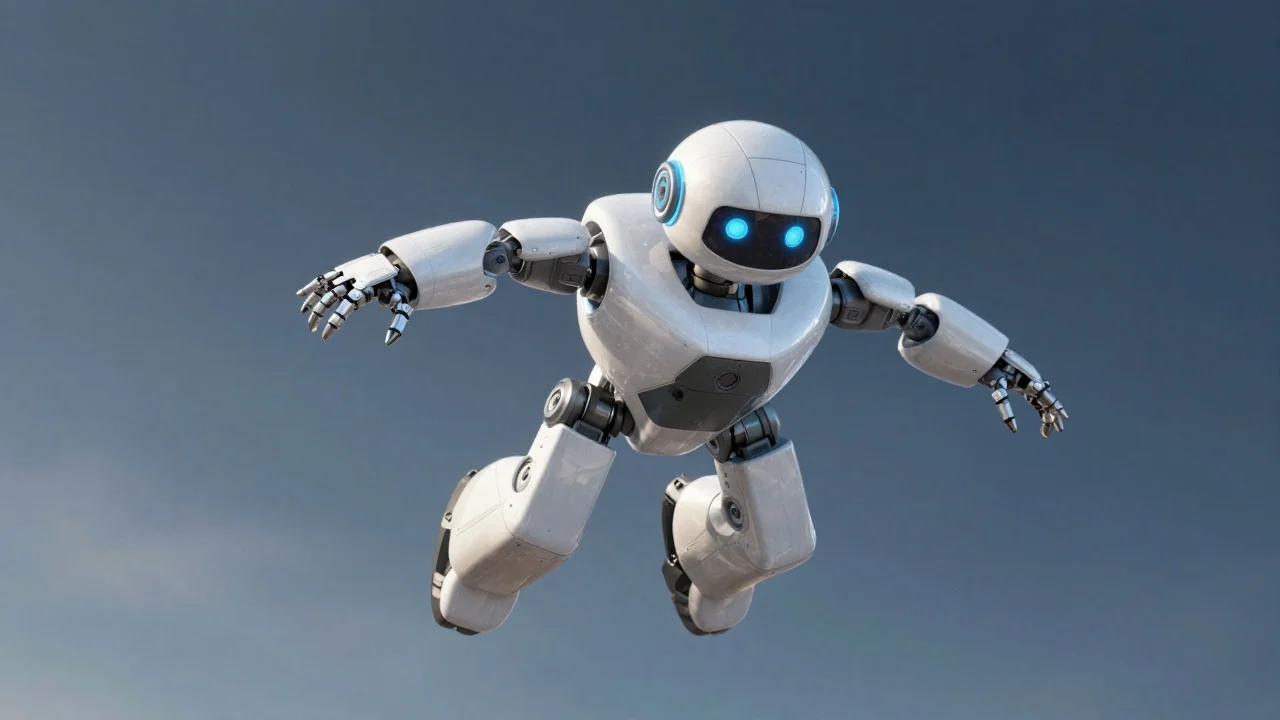
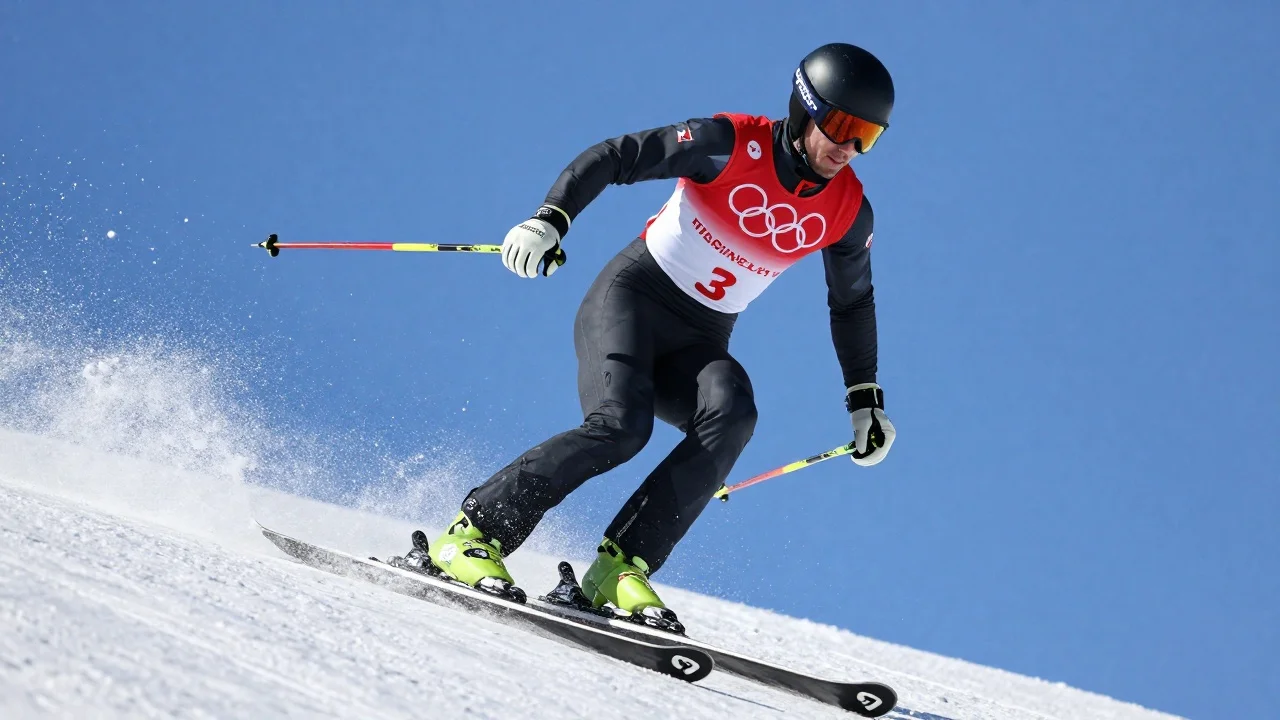
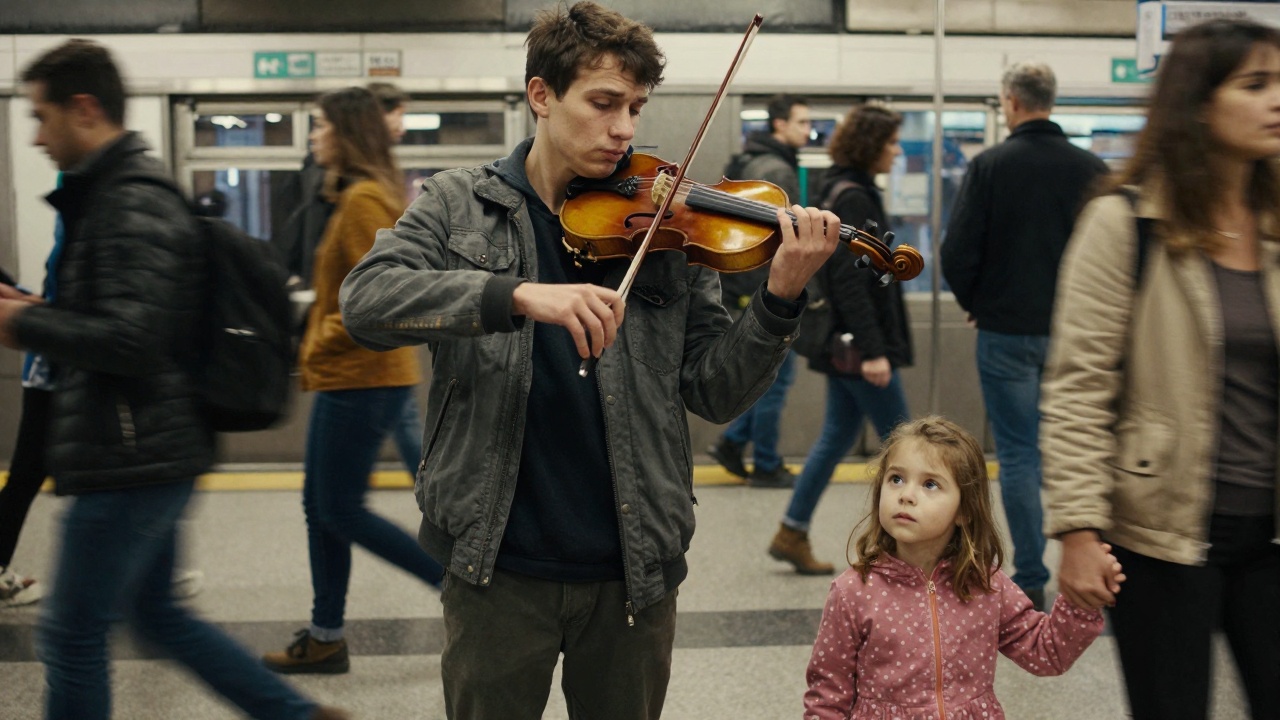
ExamplesView all
The center of the collapsing nebula begins to glow, forming a hot, dense protostar. The light intensifies until a massive burst of energy ignites the star in a brilliant flash.
After renovation, the old house became a new house.
The sky gradually turned dark.
The leaves slowly grow into a big tree.
A gentle smile slowly forms on the old woman's lips, and her eyes soften. Through a smooth cross-dissolve, her face seamlessly transforms, aging backward into her younger self.
As the brush moves, the ink bleeds and blossoms across the paper, forming distant mountains and fog. The static ink lines then begin to subtly animate: the painted clouds start to drift, and a painted waterfall begins to flow.
Related Models


README
🌌 Vidu Start-End to Video
Vidu Start-End to Video generates smooth cinematic transitions between two specified images — turning a start and end frame into a 5-second, coherent video. Ideal for storyboarding, scene linking, and concept animation, it combines motion interpolation with prompt-guided realism for visually stunning results.
🌟 Why it stands out
-
🎞️ Bi-Frame Guided Generation Creates natural motion between the start and end image while maintaining subject integrity.
-
⚡ Temporal Coherence Ensures stable transitions with no flicker or frame artifacts.
-
🧠 Context-Aware Motion Uses the text prompt to guide the transformation direction and emotional tone.
-
🎬 Cinematic Realism Simulates real camera motion—zoom, pan, fade, or morph—matching your creative intent.
⚙️ Input Parameters
-
prompt — Describe the transition or narrative.
-
image — Upload the starting frame (JPEG/PNG).
-
last_image — Upload the ending frame (JPEG/PNG).
-
movement_amplitude — Controls the motion intensity within the transition:
-
auto– Automatically adjusts based on content. -
small– Subtle, gentle motion for static or emotional scenes. -
medium– Balanced camera and object movement. -
large– Dynamic, cinematic transitions with stronger visual motion.
💰 Pricing
| Duration | Cost per Video | Resolution |
|---|---|---|
| 5 seconds | $0.20 | 720p |
🚀 How to Use
- 🖼️ Upload your start and end images.
- ✍️ Write a prompt describing the desired motion.
- 🎚️ Select movement_amplitude (
auto,small,medium, orlarge). - ▶️ Click Run ($0.20) to generate your transition.
- 💾 Preview and download your cinematic result.
💡 Pro Tips
- Keep both input images aligned in composition and perspective for best transitions.
- Use “medium” for natural storytelling and “large” for action or dramatic shifts.
- Describe visual elements like lighting, direction, or camera movement for finer control.
Start End To Video API — Quick start
Grab a WaveSpeedAI API key, then call POST https://api.wavespeed.ai/api/v3/vidu/start-end-to-video with your input as JSON. The endpoint returns a prediction id; poll the prediction endpoint until status flips to completed, then read the output URL from data.outputs[0]. Examples for Start End To Video below.
HTTP example
# Submit the prediction
curl -X POST "https://api.wavespeed.ai/api/v3/vidu/start-end-to-video" \
  -H "Content-Type: application/json" \
  -H "Authorization: Bearer $WAVESPEED_API_KEY" \
  -d '{
    "prompt": "A cinematic shot of a city at sunset, soft golden light",
    "image": "https://example.com/your-input.jpg",
    "movement_amplitude": "auto",
    "seed": -1
}'

# Response includes a prediction id. Poll for the result:
curl -X GET "https://api.wavespeed.ai/api/v3/predictions/{request_id}/result" \
  -H "Authorization: Bearer $WAVESPEED_API_KEY"

# When status is "completed", read the output from data.outputs[0].
Node.js example
// npm install wavespeed
const WaveSpeed = require('wavespeed');

const client = new WaveSpeed(); // reads WAVESPEED_API_KEY from env

const result = await client.run("vidu/start-end-to-video", {
        "prompt": "A cinematic shot of a city at sunset, soft golden light",
        "image": "https://example.com/your-input.jpg",
        "movement_amplitude": "auto",
        "seed": -1
});

console.log(result.outputs[0]); // → URL of the generated output
Python example
# pip install wavespeed
import wavespeed

output = wavespeed.run(
    "vidu/start-end-to-video",
    {
    "prompt": "A cinematic shot of a city at sunset, soft golden light",
    "image": "https://example.com/your-input.jpg",
    "movement_amplitude": "auto",
    "seed": -1
}
)

print(output["outputs"][0])  # → URL of the generated output
Start End To Video API — Frequently asked questions
What is the Start End To Video API?
Start End To Video is a Vidu model for video generation from images, exposed as a REST API on WaveSpeedAI. Vidu Start-End to Video converts a start and end image into a smooth transition Image-to-Video clip that morphs scenes seamlessly. Ready-to-use REST inference API, best performance, no coldstarts, affordable pricing. You can call it programmatically or try it from the playground above.
How do I call the Start End To Video API?
POST your input parameters to the model's REST endpoint (shown in the API tab of this playground) with your WaveSpeedAI API key in the Authorization header. Submission returns a prediction ID; poll the prediction endpoint until status flips to "completed", then read the output URL from the result. The playground generates a ready-to-paste code sample in Python, JavaScript, or cURL for whatever inputs you've set. Full request/response shape is documented at https://wavespeed.ai/docs/docs-api/vidu/vidu-start-end-to-video.
How much does Start End To Video cost per run?
Start End To Video starts at $0.20 per run. That figure is the base price — the final charge scales with the parameters you set in the form (output size, length, count, references, or whatever knobs this model exposes), so a higher-quality or larger output costs more than a minimal one. The exact cost for your current input is shown live next to the Generate button before you submit, and the actual per-call charge is recorded on the prediction afterwards.
What inputs does Start End To Video accept?
Key inputs: `prompt`, `image`, `seed`, `last_image`, `movement_amplitude`. The full JSON schema (types, defaults, allowed values) is rendered above the Generate button and mirrored in the API reference at https://wavespeed.ai/docs/docs-api/vidu/vidu-start-end-to-video.
How long does Start End To Video take to generate?
Average end-to-end generation time on WaveSpeedAI is around 74 seconds per request — measured across recent runs. Queue time scales with global demand; live status is visible in the prediction record.
Can I use Start End To Video outputs commercially?
Commercial usage rights depend on the model's license, set by its provider (Vidu). The license summary appears on the model card above; see WaveSpeedAI's Terms of Service for platform-level conditions.