Creative Upscaler enlarges images with style and detail control, restoring photos or adding micro-textures for portraits and anime. Ready-to-use REST inference API, best performance, no coldstarts, affordable pricing.
Siap
$0.05per run·~20 / $1
ContohLihat semua
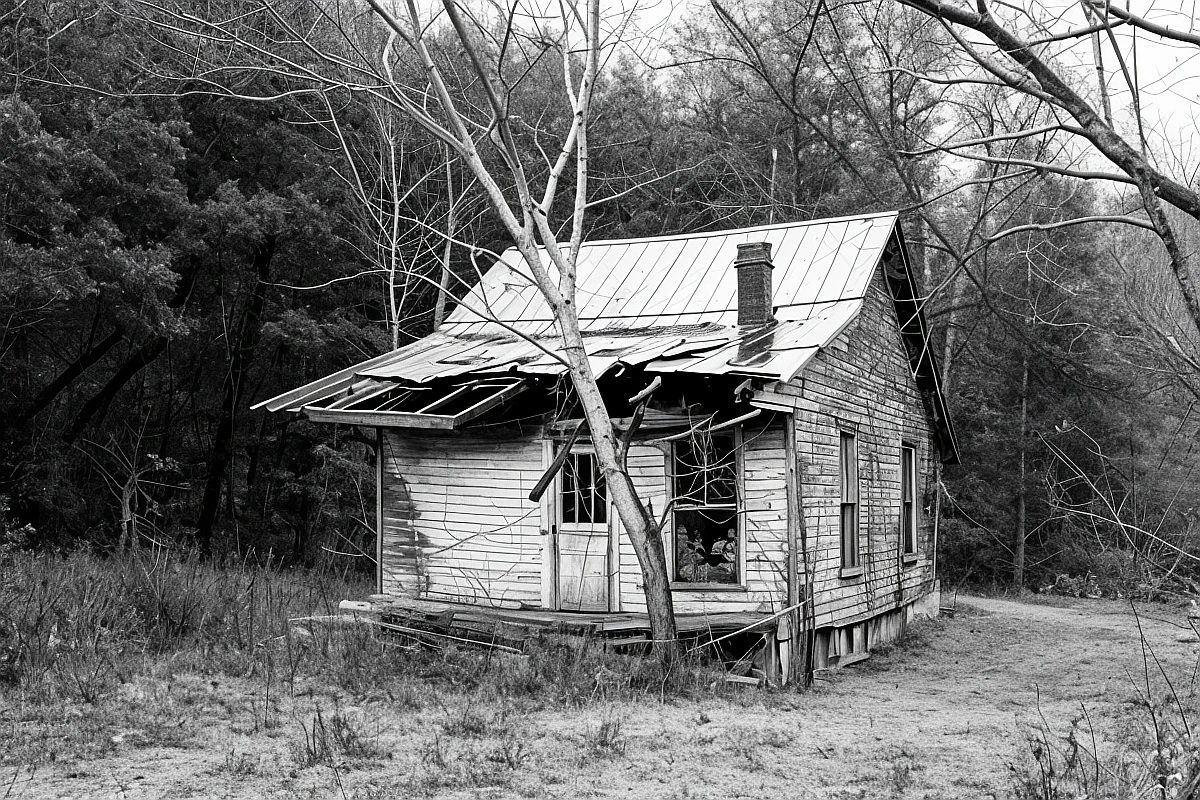



Keep the elephant's eyes at the right place
Model Terkait



README
Clarity AI Creative Upscaler
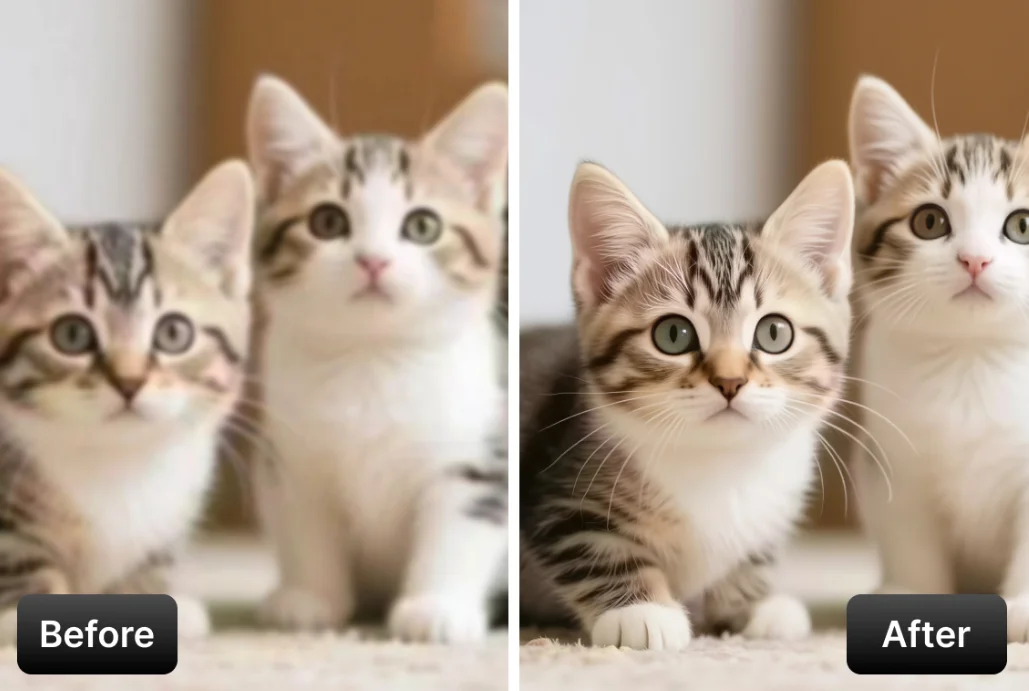
Clarity AI Creative Upscaler enlarges and enhances images with controllable detail generation, making it useful for both faithful restoration and more stylized creative upscaling. It is well suited for interiors, portraits, product images, artwork, and other assets that need higher resolution with adjustable enhancement strength.
Why Choose This?
-
Creative image upscaling Increase image resolution while enhancing sharpness, textures, and overall visual clarity.
-
Megapixel-based output control Choose the target output size directly in megapixels for more predictable delivery needs.
-
Flexible detail generation Use
creativityto balance source-faithful restoration against stronger generated detail. -
Simple workflow Upload one image, choose the target megapixels, adjust creativity, and generate the enhanced result.
-
Production-ready API Suitable for image enhancement workflows, creative tooling, print preparation, and commercial asset delivery.
Parameters
| Parameter | Required | Description |
|---|---|---|
| image | Yes | Input image to upscale. |
| target_megapixels | No | Target output size in megapixels. Higher values produce larger outputs. |
| creativity | No | Controls how much new detail is added. Lower values stay closer to the source, while higher values add stronger enhancement. |
How to Use
- Upload your image — provide the source image you want to enhance.
- Choose target megapixels — set the desired output size based on your delivery needs.
- Adjust creativity (optional) — keep it low for more faithful results, or increase it for stronger enhancement.
- Submit — run the model and download the upscaled image.
Example Use Case
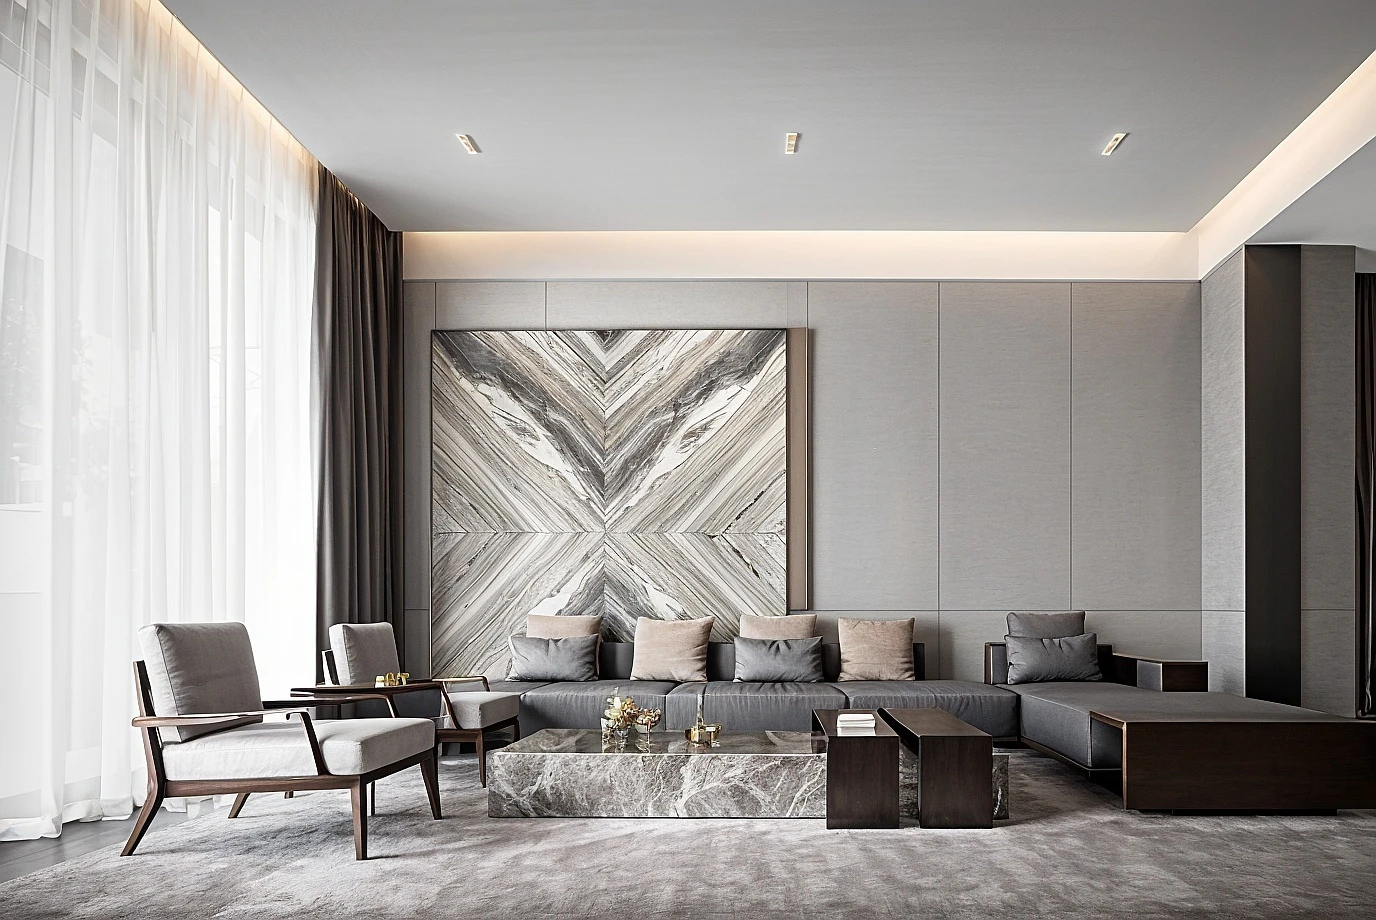
Upscale an interior design photo for higher-resolution presentation output while preserving structure, lighting, and clean material textures.
Pricing
Pricing is based on the selected target_megapixels tier.
| Target Megapixels | Cost |
|---|---|
<= 4 MP | $0.05 |
> 4 MP and <= 8 MP | $0.10 |
> 8 MP and <= 16 MP | $0.20 |
> 16 MP and <= 25 MP | $0.40 |
> 25 MP and <= 50 MP | $0.80 |
> 50 MP | $1.60 |
Billing Rules
- Pricing is based on
target_megapixels - Cost uses fixed megapixel tiers rather than scaling linearly
- Higher megapixel tiers increase the price step by step
creativitydoes not affect pricing
Best Use Cases
- Photo enhancement — Improve clarity and resolution for real-world photography.
- Interior and architecture images — Preserve structure and clean lines while increasing output size.
- Product and commercial visuals — Prepare sharper assets for catalogs, campaigns, and listings.
- Artwork and illustration upscaling — Generate larger outputs for presentation or print use.
- Creative asset preparation — Produce higher-resolution images for design, marketing, and publishing workflows.
- Controlled restoration vs enhancement — Adjust
creativitybased on how close the result should stay to the original.
Pro Tips
- Start with a lower megapixel tier first, then increase only if you need a larger final output.
- Keep
creativitylow when structure accuracy and source fidelity matter most. - Increase
creativitygradually if you want stronger texture generation or more stylized enhancement. - Use the cleanest source image available for better results.
- For print or large-format delivery, choose a higher megapixel tier only when the extra size is necessary.
Notes
imageis the only required field.- Pricing depends on the selected
target_megapixelstier. creativityaffects the look of the result, but not the price.- Larger target sizes may be more suitable for print, presentation, or premium delivery workflows.
Related Models
- Clarity AI Pro Upscaler — A simpler photorealistic upscaler with resolution-tier pricing.
- Clarity AI Flux Upscaler — Adds prompt guidance and optional LoRA style control.
- Clarity AI Crystal Upscaler — Uses resolution-tier output with a more straightforward enhancement workflow.
Creative Upscaler API — Quick start
Grab a WaveSpeedAI API key, then call POST https://api.wavespeed.ai/api/v3/clarity-ai/creative-upscaler with your input as JSON. The endpoint returns a prediction id. Start polling the result endpoint around every 2 seconds, increase the interval for long-running tasks, and stop on any terminal status. On completed, read output values from data.outputs. Examples for Creative Upscaler below.
HTTP example
set -euo pipefail

: "${WAVESPEED_API_KEY:?Set WAVESPEED_API_KEY}"

REQUEST_BODY=$(cat <<'JSON'
{
    "image": "https://interactive-examples.mdn.mozilla.net/media/cc0-images/painted-hand-298-332.jpg",
    "target_megapixels": 4,
    "creativity": 0
}
JSON
)

# 1. Submit the prediction.
SUBMIT_RESPONSE=$(curl --silent --show-error --fail-with-body \
  -X POST "https://api.wavespeed.ai/api/v3/clarity-ai/creative-upscaler" \
  -H "Content-Type: application/json" \
  -H "Authorization: Bearer $WAVESPEED_API_KEY" \
  -d "$REQUEST_BODY")

TASK=$(printf '%s' "$SUBMIT_RESPONSE" | jq 'if has("data") then .data else . end')
PREDICTION_ID=$(printf '%s' "$TASK" | jq -r '.id')
if [ -z "$PREDICTION_ID" ] || [ "$PREDICTION_ID" = "null" ]; then
  printf 'Submission response did not contain a prediction id
' >&2
  exit 1
fi
RESULT_URL=$(printf '%s' "$TASK" | jq -r '.urls.get // empty')
if [ -z "$RESULT_URL" ]; then
  RESULT_URL="https://api.wavespeed.ai/api/v3/predictions/$PREDICTION_ID/result"
fi

# 2. Poll until the prediction finishes.
while true; do
  RESPONSE=$(curl --silent --show-error --fail-with-body "$RESULT_URL" \
    -H "Authorization: Bearer $WAVESPEED_API_KEY")
  RESULT=$(printf '%s' "$RESPONSE" | jq 'if has("data") then .data else . end')
  STATUS=$(printf '%s' "$RESULT" | jq -r '.status')
  case "$STATUS" in
    completed) printf '%s\n' "$RESULT" | jq '.outputs'; break ;;
    failed|cancelled|timeout) printf '%s\n' "$RESULT" | jq . >&2; exit 1 ;;
    created|processing) sleep 2 ;;
    *) printf 'Unexpected status: %s
' "$STATUS" >&2; exit 1 ;;
  esac
done
Node.js example
const submitUrl = "https://api.wavespeed.ai/api/v3/clarity-ai/creative-upscaler";
const apiKey = process.env.WAVESPEED_API_KEY;
if (!apiKey) throw new Error('Set WAVESPEED_API_KEY');

async function requestJson(url, options = {}) {
  const response = await fetch(url, options);
  if (!response.ok) throw new Error(await response.text());
  return response.json();
}

// 1. Submit the prediction.
const body = await requestJson(submitUrl, {
  method: "POST",
  headers: {
    "Authorization": `Bearer ${apiKey}`,
    "Content-Type": "application/json",
  },
  body: JSON.stringify({
        "image": "https://interactive-examples.mdn.mozilla.net/media/cc0-images/painted-hand-298-332.jpg",
        "target_megapixels": 4,
        "creativity": 0
}),
});
const task = body.data ?? body;
if (!task.id) throw new Error("Submission response did not contain a prediction id");
const resultUrl = task.urls?.get ||
  `https://api.wavespeed.ai/api/v3/predictions/${task.id}/result`;

// 2. Poll until the prediction finishes.
while (true) {
  const resultBody = await requestJson(resultUrl, {
    headers: { "Authorization": `Bearer ${apiKey}` },
  });
  const result = resultBody.data ?? resultBody;
  if (result.status === "completed") {
    console.log(result.outputs);
    break;
  }
  if (["failed", "cancelled", "timeout"].includes(result.status)) throw new Error(JSON.stringify(result));
  if (!["created", "processing"].includes(result.status)) throw new Error("Unexpected status: " + result.status);
  await new Promise(resolve => setTimeout(resolve, 2000));
}
Python example
import json
import os
import time
from urllib.request import Request, urlopen

api_key = os.environ["WAVESPEED_API_KEY"]
headers = {"Authorization": f"Bearer {api_key}", "Content-Type": "application/json"}
payload = {
    "image": "https://interactive-examples.mdn.mozilla.net/media/cc0-images/painted-hand-298-332.jpg",
    "target_megapixels": 4,
    "creativity": 0
}

def request_json(url, data=None):
    request = Request(url, data=data, headers=headers, method="POST" if data else "GET")
    with urlopen(request) as response:
        return json.load(response)

# 1. Submit the prediction.
body = request_json("https://api.wavespeed.ai/api/v3/clarity-ai/creative-upscaler", json.dumps(payload).encode())
task = body.get("data", body)
if not task.get("id"):
    raise RuntimeError("Submission response did not contain a prediction id")
result_url = task.get("urls", {}).get("get") or f"https://api.wavespeed.ai/api/v3/predictions/{task['id']}/result"

# 2. Poll until the prediction finishes.
while True:
    result_body = request_json(result_url)
    result = result_body.get("data", result_body)
    status = result.get("status")
    if status == "completed":
        print(result.get("outputs", []))
        break
    if status in {"failed", "cancelled", "timeout"}:
        raise RuntimeError(result)
    if status not in {"created", "processing"}:
        raise RuntimeError(f"Unexpected status: {status}")
    time.sleep(2)
Creative Upscaler API — Frequently asked questions
What is the Creative Upscaler API?
Creative Upscaler is a Clarity model for upscaling, exposed as a REST API on WaveSpeedAI. Creative Upscaler enlarges images with style and detail control, restoring photos or adding micro-textures for portraits and anime. Ready-to-use REST inference API, best performance, no coldstarts, affordable pricing. You can call it programmatically or try it from the playground above.
How do I call the Creative Upscaler API?
POST your input parameters to the model's REST endpoint (shown in the API tab of this playground) with your WaveSpeedAI API key in the Authorization header. Submission returns a prediction ID. Poll the result endpoint starting around every 2 seconds, increase the interval for long-running tasks, and stop on any terminal status. The playground generates production-oriented Python, JavaScript, and cURL examples with timeouts, transient-error handling, and safe GET retries. Full request/response shape is documented at https://wavespeed.ai/docs/docs-api/clarity-ai/clarity-ai-creative-upscaler.
How much does Creative Upscaler cost per run?
Creative Upscaler starts at $0.050 per run. That figure is the base price — the final charge scales with the parameters you set in the form (output size, length, count, references, or whatever knobs this model exposes), so a higher-quality or larger output costs more than a minimal one. The exact cost for your current input is shown live next to the Generate button before you submit, and the actual per-call charge is recorded on the prediction afterwards.
What inputs does Creative Upscaler accept?
Key inputs: `image`, `creativity`, `target_megapixels`. The full JSON schema (types, defaults, allowed values) is rendered above the Generate button and mirrored in the API reference at https://wavespeed.ai/docs/docs-api/clarity-ai/clarity-ai-creative-upscaler.
How long does Creative Upscaler take to generate?
Median end-to-end generation time on WaveSpeedAI is around 27 seconds per request, based on recent successful runs. Queue time varies with global demand; live status is visible in the prediction record.
Can I use Creative Upscaler outputs commercially?
Commercial usage rights depend on the model's license, set by its provider (Clarity). The license summary appears on the model card above; see WaveSpeedAI's Terms of Service for platform-level conditions.