Real-ESRGAN vs Topaz: Which Upscaler Wins?
Hi, dears, I’m Dora. A tiny thing set this off. I was prepping a slide deck and needed to enlarge a small logo without turning it into a crunchy mess. I had Real-ESRGAN on my machine already. A friend kept nudging me about Topaz. I wasn’t trying to crown a winner, I just wanted my eyes to stop squinting.
So, over a few evenings in February–March 2026, I ran the same set of images through both: scanned family photos, a handful of phone shots with motion blur, a couple of game textures, and a low-res logo. Real-ESRGAN from the GitHub build (model variants: x4plus, x4plus-anime, and RealESRGAN_x4plus_ncnn): Topaz Photo AI 3.x (the current build at test time). I wasn’t hunting for magic. I was looking for the path that felt lighter when I needed it, and tolerable when I didn’t.
Real-ESRGAN vs Topaz: The Short Answer
If you want the TL:DR without the dance: I reached for Topaz when I needed something to look good fast with minimal fiddling. I reached for Real-ESRGAN when I wanted control, repeatability, and a workflow I could script or explain.
Best for beginners
Topaz. It asks fewer questions. I dropped in images, nudged one or two sliders, and most results were presentable on the first try. For non-technical folks or days when your brain is already full, that matters.
Best for control and experimentation
Real-ESRGAN. It’s more work up front, but once I set a few presets and scripts, I could run consistent batches and tweak models per image type. If you like seeing what the model is actually doing, and you value transparent knobs over “smart” automation, this felt better.
What You’re Actually Comparing
This isn’t just model vs model. It’s a workflow choice. Some creators today even mix traditional upscalers with newer AI image generation tools like Z-Image Turbo when rebuilding visuals from scratch.
Open-source model workflow
With Real-ESRGAN, I’m picking models, flags, and sometimes different builds (CUDA vs NCNN). It’s honest about what it can and can’t do. When it fails, I know where to look: model choice, noise level, pre‑denoise, or interpolation. The upside is control and cost. The downside is time sunk into setup and the occasional rabbit hole.
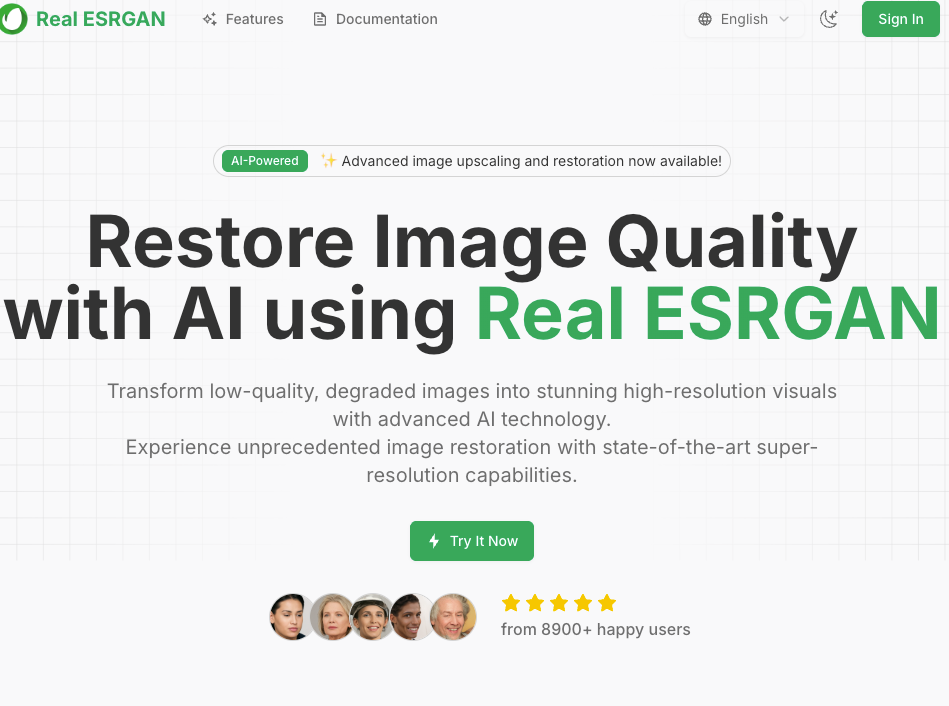
If you’re curious: Real-ESRGAN lives here: Real‑ESRGAN on GitHub. The docs are fine, but you still need to stitch the pieces together.
Paid polished product workflow
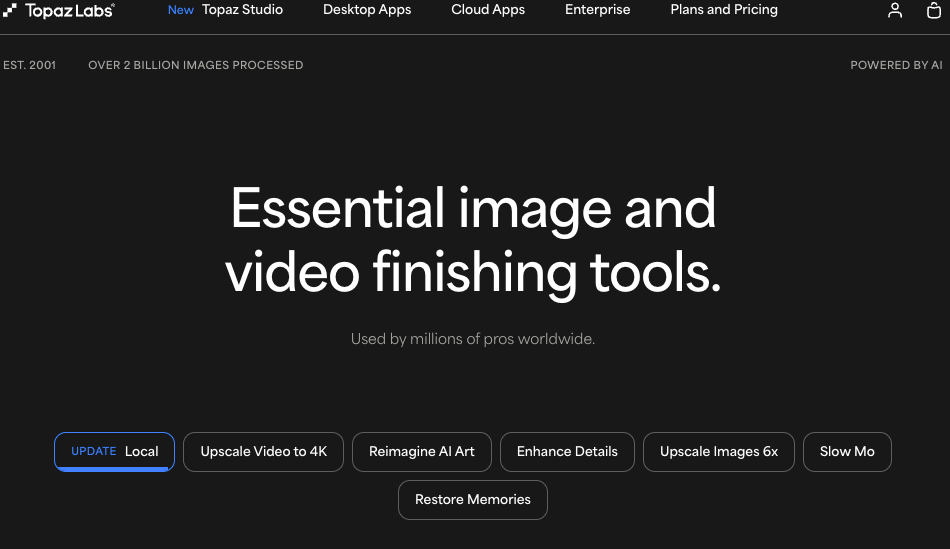
Topaz Photo AI wraps multiple models (sharpen, denoise, upscale) behind a clean interface. It tries to auto-detect issues, then suggests a stack: remove noise, recover detail, upscale. You can override it, but the default path is “let me handle it.” That’s the draw. You trade some transparency for speed and decent first passes. Official info: Topaz Photo AI.
Output Quality Comparison
I ran seven sets: two scanned 4x6 prints, one 2009 smartphone photo (motion blur), one low-res logo (flat colors), two game textures (gritty surfaces), and one small portrait from a group shot. I upscaled 4x unless noted. Here’s what I saw.
Texture recovery
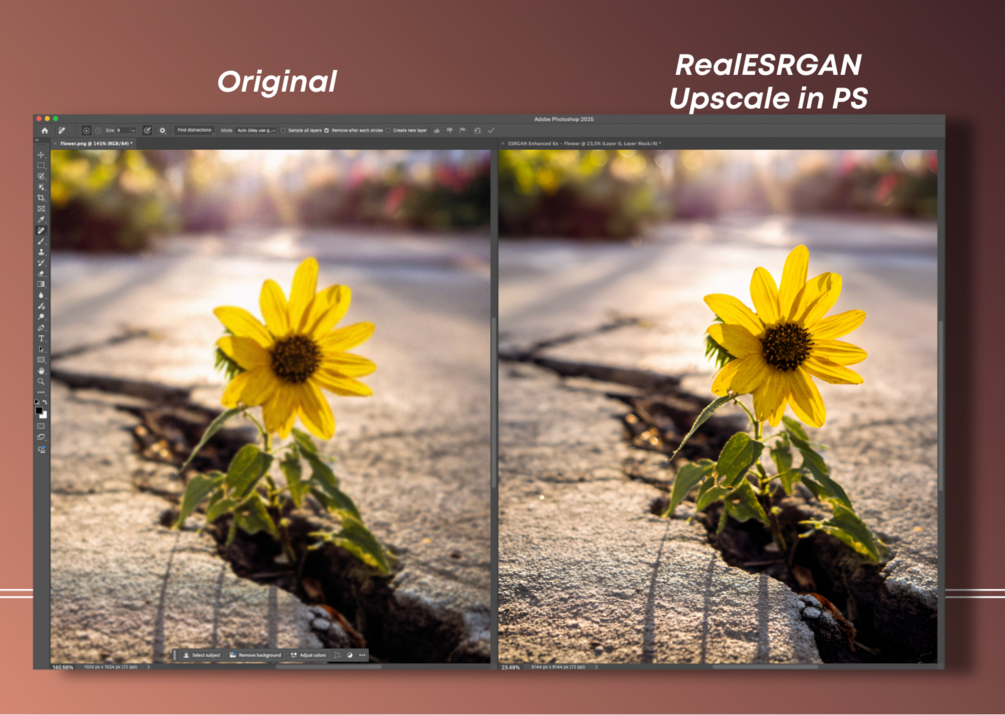
- Old prints: Real-ESRGAN (x4plus) brought back paper grain and fabric weave in a believable way. Topaz sometimes smoothed the grain, then re-invented micro‑detail on top. At normal viewing, both looked sharp: zoomed in, Real-ESRGAN felt more “film‑like.”
- Game textures: Real-ESRGAN preserved the roughness of concrete and stucco better. Some artists now skip traditional upscaling entirely and rebuild textures through AI image-to-image generation workflows. Topaz leaned into clarity, which helped edges but occasionally turned dust into speckles that weren’t there.
- Logos and UI: Topaz did cleaner edges out of the box. Real-ESRGAN benefited from a pre‑pass (vector re-trace or a dedicated model). If you don’t want to prep, Topaz wins here.
Noise and sharpening behavior
- High-ISO phone shot: Topaz’s denoise+sharpen pipeline reduced mush without the “waxy” look I brace for. Real-ESRGAN alone gave me either too much grit or not enough definition: pairing it with a light denoise pre‑step (e.g., basic NR) helped a lot, but it was two steps instead of one.
- Portrait crop: Topaz favored clean skin with restrained pores: Real-ESRGAN preserved micro‑texture but could exaggerate freckles and minor artifacts. Depending on the subject, that’s either honest or unflattering.
Where each one looks artificial
- Real-ESRGAN: On tough faces, occasional eyebrow/eyelash inventing. On text or line art, faint halos unless I prepped. On foliage, small repeating patterns can appear if the source is very soft.
- Topaz: Over‑crisp edges on hair and fabric if I push sharpening. Sometimes a faint “plastic clarity” in flat gradients (sky, studio backdrops). On very noisy files, it can guess detail a bit too confidently.
In plain terms: Real-ESRGAN tends to keep the character of the original: Topaz tends to present a cleaned-up version that looks ready for a client deck. Which you want depends on your goal.
Workflow Comparison
This was the biggest difference for me.
Setup time
- Real-ESRGAN: First setup took about 30–40 minutes on my Windows laptop (CUDA install, model pulls, quick tests). On my MacBook (M3), the NCNN build was simpler, about 15 minutes from zero to first upscale. After that, no friction.
- Topaz: Install, license, done. First usable result in 3–5 minutes. No guessing about flags.
Batch work
- Real-ESRGAN: Excellent once scripted. I ran a folder of 120 textures in about 18 minutes on a desktop GPU, unattended. Logs were clear. If something looked off, I could re-run one subset with a different model flag.
- Topaz: Batch is easy through the UI and worked fine for 60 images, but I watched it more. When the auto-detection missed (e.g., it sharpened what needed denoise first), I had to stop and adjust. Not terrible, just more supervision.
Ease of getting reliable results
- Real-ESRGAN: My first two passes on new content types are rarely “final.” But by the third run, the combo of model + light pre-process becomes a repeatable recipe. The reliability is earned, not granted.
- Topaz: The first pass is usually good enough. When it’s wrong, it’s confidently wrong. I learned to glance at faces and edges before I trust a big batch. Still, time to a decent output was shorter on average.
Cost vs Time Tradeoff
I kept a rough log for one client folder (86 mixed images, mostly event photos).
- Topaz path: import → auto → light tweaks → export. Total hands-on time ~22 minutes. Machine time ~35 minutes. 6 images needed a second pass.
- Real-ESRGAN path: quick triage → denoise pre-pass on the worst 20 → Real-ESRGAN x4 → downscale to deliverable. Hands-on ~38 minutes (more sorting), machine time ~31 minutes. 11 images needed a second pass, but the re-runs were scripted.
When Topaz is worth paying for
- You hand off images to clients and want attractive defaults without babysitting.
- You don’t want to maintain models, drivers, or scripts.
- You work across denoise, sharpen, and upscale in one sitting, the integrated pipeline matters.
In practical terms: if your time is billable or you context switch a lot, Topaz earns its keep quickly.
When Real-ESRGAN is still enough
- You’re comfortable with a small setup, and you like knowing exactly what happened to a pixel.
- You batch a lot of similar content (e.g., textures, scanned photos) and want a stable, documentable recipe.
- Budget matters more than conveniences, or you’re deploying on a server where licensing logistics get annoying.
And of course: if you need something you can script, schedule, or run headless, Real-ESRGAN fits into a system more cleanly.
My Recommendation by Use Case
Casual creators
If you open an editor a few times a month and just want your image to stop looking tired, use Topaz. It’s calm to operate. The auto suggestions are decent. You’ll spend more time deciding which photo to keep than how to fix it. If you later get curious about fine control, you can still try Real-ESRGAN, but you won’t need it to get through a normal week. Some creators even go a step further by turning product photos into short AI videos once the image quality is restored.
Technical users
If you like reproducible pipelines, or you need to process hundreds of assets on a schedule, start with Real-ESRGAN. Save your flags. Write a tiny script. Pair it with a light denoise tool when you need it. When you want a fast client‑friendly pass with minimal thinking, keep Topaz around, but your day-to-day will probably be open-source.
Budget-conscious users
Real-ESRGAN will get you far for free. It asks for time instead of money. If your work depends on consistent delivery and you can afford it, Topaz pays you back in reduced cognitive load more than raw minutes saved. But if you’re careful with process, Real-ESRGAN holds up well.
One small note to end on: after a week of swapping between them, I noticed I relaxed a bit every time I opened Topaz, fewer decisions. But I also kept a Real-ESRGAN terminal window pinned. Knowing I could see and steer the guts when I needed to… that made the whole setup feel sturdier. I don’t think that tension goes away, and I’m okay with it.
Related Articles

Canva AI Is Built for Designers — Here's What Developers Should Use Instead

We Tested Freepik AI for a Week — Here's Why We Still Use WaveSpeedAI

Leonardo AI Looks Great on Paper — But Here's What It Can't Do That WaveSpeedAI Can

SeedVR2 Online: How to Use It
SeedVR2 vs Topaz: Which Upscaler Is Better?