Z-Image-Turbo Image-to-Image Guide: Strength Parameter Deep Dive
Master Z-Image-Turbo Image-to-Image API. Learn how strength (0-1) controls transformation from subtle enhancement to complete reimagination. Code examples included.
I was fixing a batch of header images for a newsletter in late January. Same composition, different weeks. I kept dragging files into Photoshop for tiny tweaks, lighten here, nudge contrast, keep the mood. It felt… heavier than it needed to be.
I’m Dora. That’s when I took another look at Z-Image-Turbo’s image-to-image flow. Not because it was trendy, but because I wanted a steady, low-drama way to refresh images without remaking them from scratch. I’ve now used it several times across February, for gentle enhancements, style shifts, and a few experiments that went weird in a useful way. This is what actually helped, what didn’t, and how the “strength” parameter ended up being the quiet center of the whole thing.
What is Image-to-Image Generation?
Image-to-image takes an existing image and guides a model to produce a new one. The goal isn’t to hallucinate a brand-new scene: it’s to keep useful structure (composition, subject, layout) while changing what you ask it to change, lighting, style, small corrections, or big re-interpretations.
With Z-Image-Turbo, this works like a conversation between your input image and a text prompt. The image says “here’s the anchor,” and the prompt says “push it this way.” You can also set a strength value to decide how much the model should listen to the original. In practice, that one value steers the whole experience.
Why I use it:
- It reduces mental effort. I don’t have to rethink framing or typography every time I want a new look.
- It’s good for batch workflows. A set of prompts + a baseline image can yield consistent variants.
- It keeps me honest. If I’m trying to patch a bad photo into a good one, the model shows me where the baseline quality just isn’t there.
A quick note on expectations: image-to-image is not a one-click “make it perfect.” It’s closer to a friendly assistant who’s great at following vibes, not specs. The clearer the input and constraints, the better the outcomes.
The Strength Parameter Explained
If you only tune one thing, tune strength. I tested ranges on real work assets in Feb 2026, banner images, product mockups, and some illustration-style headers. Here’s how the ranges behaved for me.
0.0-0.3, Enhancement Mode
This range keeps the original image almost intact. I use it for:
- lighting and contrast polish,
- minor cleanup (softening noise, smoothing banding),
- upscaling with restraint.
What I noticed: prompts still matter, but they act like subtle nudges. “Softer morning light” shifts tones without reshaping objects. Faces, logos, and text placement stay stable. If the source is sharp and well-exposed, this range preserves it. If the source is weak, it won’t rescue it, it’ll just give you a cleaner version of the same problems.
Friction: if I asked for a specific color grade (say, teal highlights) and my base image fought it, results landed halfway. Acceptable, not exact.
0.3-0.6, Balanced Transformation
This is my default for “make it feel different, but keep the skeleton.” Layout stays recognizable. Materials and lighting shift more confidently.
Good fits:
- brand-aligned recolors,
- seasonal variations of the same hero image,
- gentle realism → illustrative tilt.
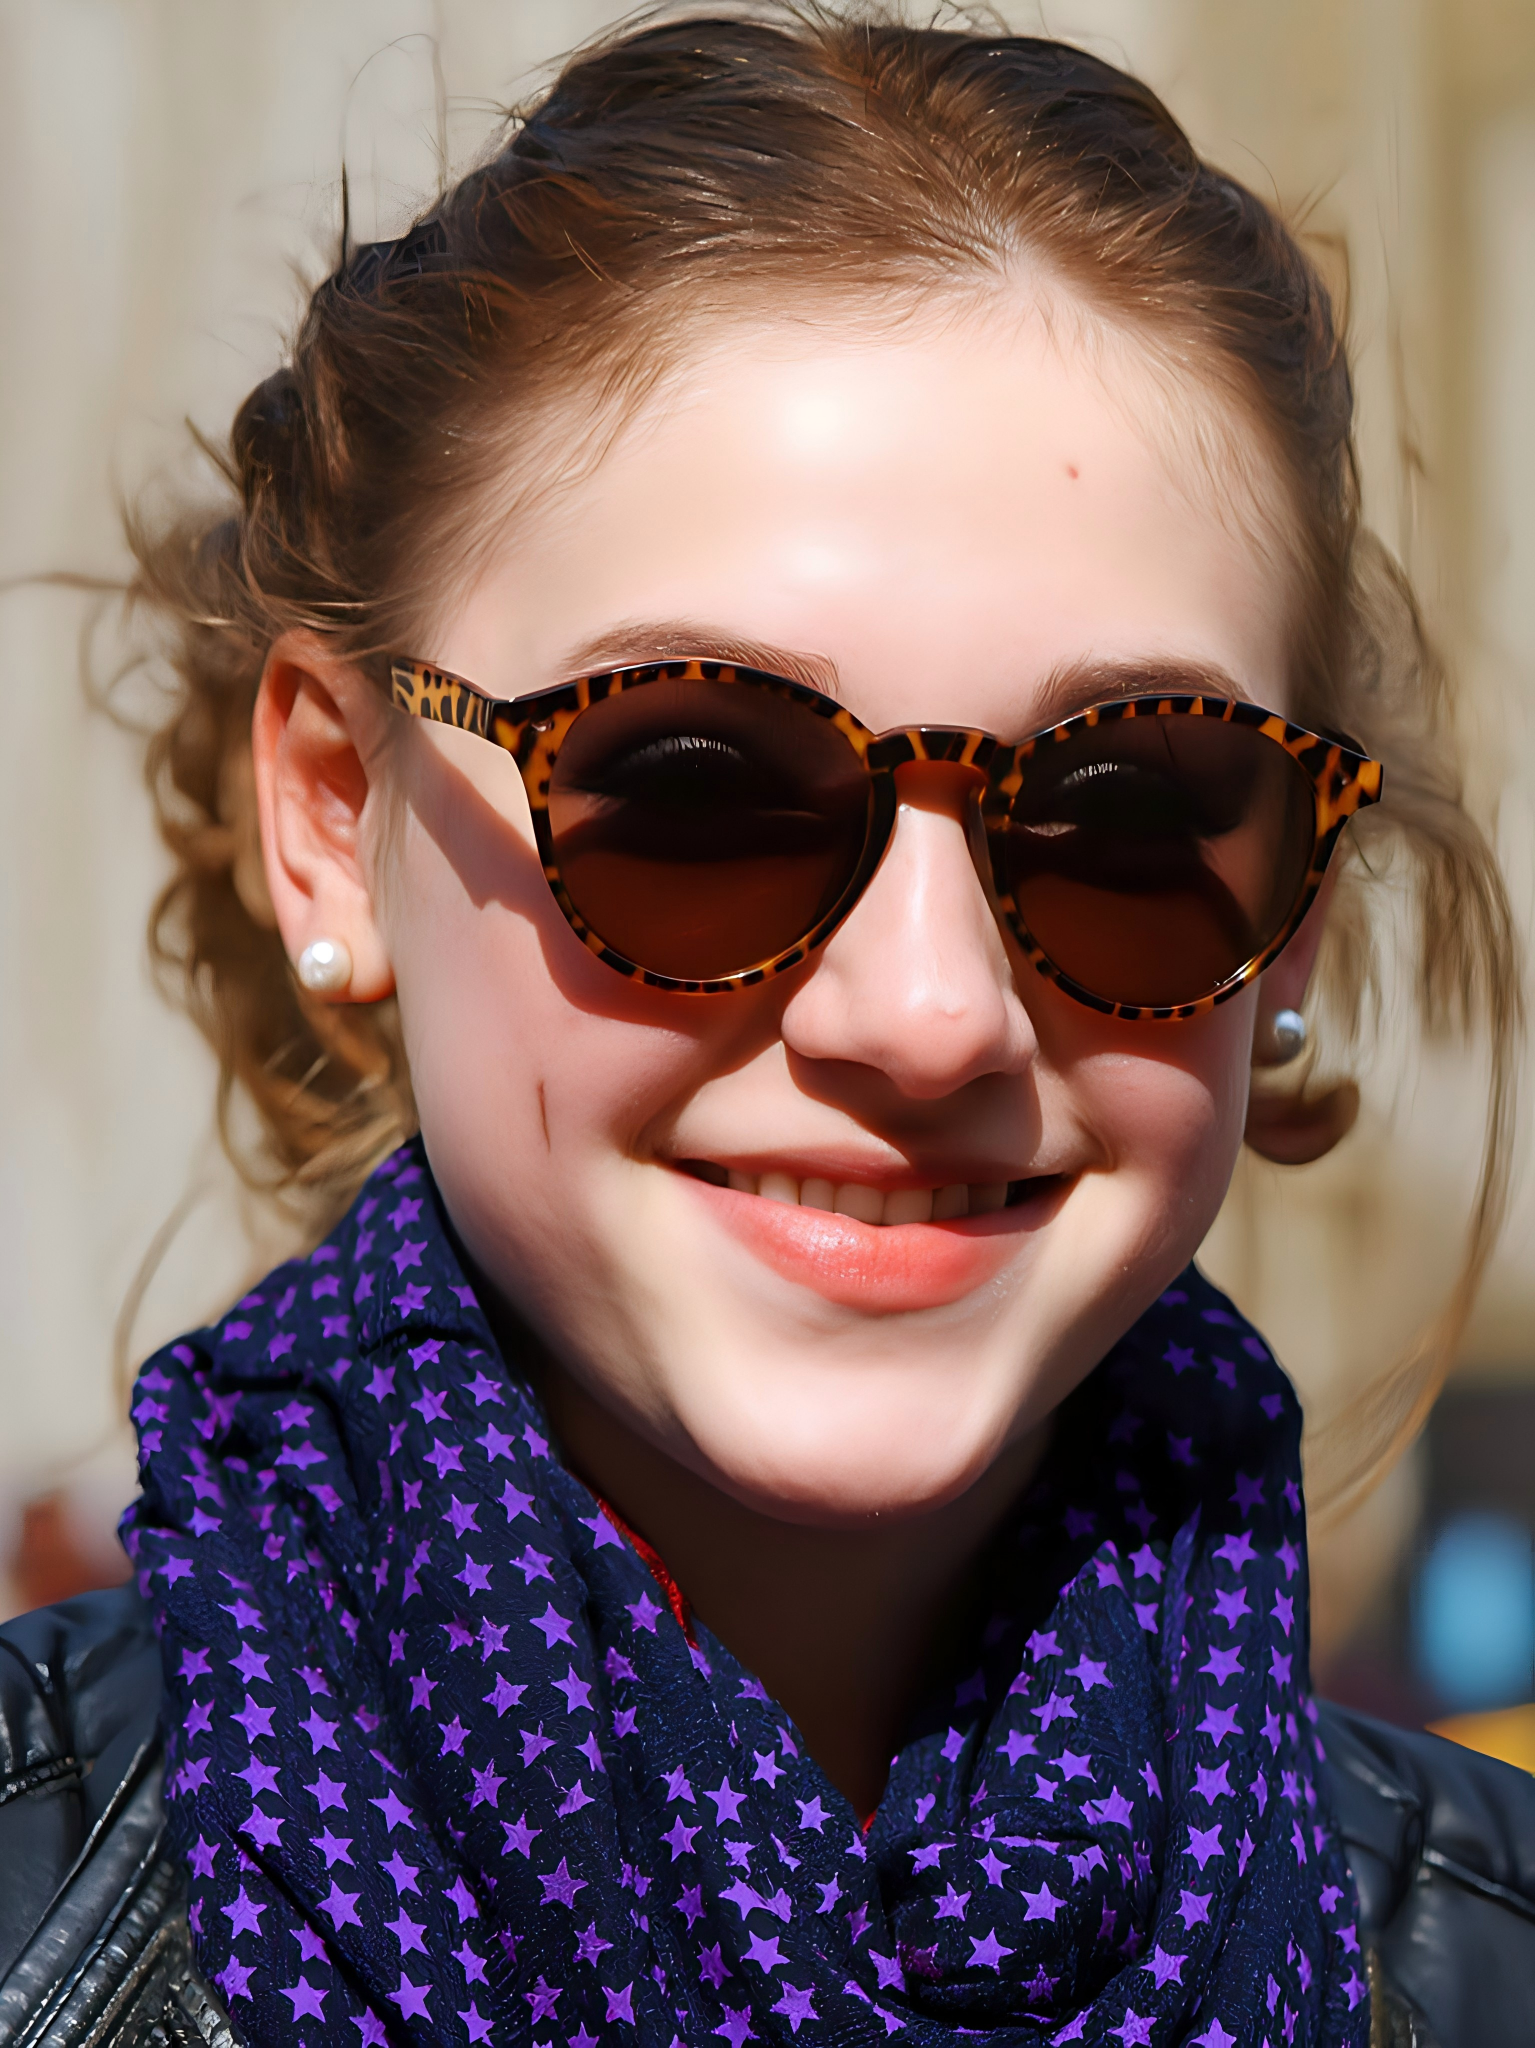
What caught me off guard: typography tends to drift. If there’s live text in the image, I either mask it out before running, or plan to reapply text afterward. Also, tiny accessories (earrings, small buttons) sometimes morph if your prompt suggests a style with different details.
0.6-0.8, Style Transfer
Here the model takes stronger liberties. I use it for:
- painterly or graphic reinterpretations,
- consistent art direction across mismatched source images,
- moodboarding when I have the layout but not the look.
Observations:
- Faces can become stylized: hands improve or worsen depending on the style asked.
- Lighting directions may shift to fit the vibe of the prompt (e.g., “noir rim light”).
- Edges soften. If you need pixel-precise product edges, plan a post-pass or keep masks handy.
0.8-1.0, Creative Reimagination
This is almost a remix. The model respects rough composition but feels free to redesign elements.
I reach for this when I’m stuck. If a hero image feels flat, I’ll push it to 0.9 with a bolder prompt and see what it suggests. Half the time it’s unusable: the other half it gives me a direction I wouldn’t have tried.
Limits: brand-critical elements (logos, specific garments, regulated product details) can shift or disappear. If you must protect them, don’t go this high, or segment those regions out before you run it.
API Implementation
I’ve wired Z-Image-Turbo into small scripts so I can run batches and keep settings in version control. The basics are simple: send an input image, a prompt, a strength value, and any quality controls your account supports (size, steps, guidance, seed).
Two quick notes from practice:
- Keep your reference images clean and sized reasonably. I tend to work between 1024–1536 px on the long edge.
- Save metadata with outputs (prompt, strength, seed, date). It saves you later when something looks great and you want to repeat it.
Required Parameters
These covered 90% of my runs:
- image: the source image (file upload or URL). Use a high-quality PNG or high-bitrate JPEG.
- prompt: short and plain language works better than flowery prose.
- strength: 0.0–1.0. Lower preserves, higher invents.
- size or width/height: decide upfront: don’t rely on defaults if consistency matters.
Common optional controls I used:
- seed: fixes randomness for repeatability.
- steps / quality: more steps usually refine detail but increase time. According to the official Z-Image documentation, Z-Image-Turbo achieves high quality with only 8-9 steps, making it exceptionally fast.
- guidance / cfg: how hard the model leans into the prompt.
- output_format: png or jpg, depending on your pipeline.
Check the official docs for exact names and current limits: providers love to rename things right when you’re not looking.
Python Code Example
This is the small script I keep on hand. It’s intentionally plain. Replace ENDPOINT and AUTH_TOKEN with your actual values.
import base64

import json

import requests

from pathlib import Path


ENDPOINT = "<YOUR_IMAGE_TO_IMAGE_ENDPOINT>" # e.g., provider URL

AUTH_TOKEN = "<YOUR_API_KEY>"


def run_image_to_image(

input_path: str,

prompt: str,

strength: float = 0.45,

width: int = 1024,

height: int = 1024,

seed: int | None = None,


guidance: float = 3.5,

steps: int = 28,

output_path: str = "output.png",

):
# Read image as base64 to avoid URL headaches

img_bytes = Path(input_path).read_bytes()

img_b64 = base64.b64encode(img_bytes).decode("utf-8")


payload = {

"model": "z-image-turbo", # if your provider requires a model name

"image": {"type": "base64", "data": img_b64},

"prompt": prompt,

"strength": strength,

"width": width,

"height": height,

"guidance": guidance,

"steps": steps,

}

if seed is not None:

payload["seed"] = seed


headers = {

"Authorization": f"Bearer {AUTH_TOKEN}",

"Content-Type": "application/json",

}


r = requests.post(ENDPOINT, headers=headers, data=json.dumps(payload), timeout=120)

r.raise_for_status()

data = r.json()

# Expecting base64 or URL in response: handle both

if "image_base64" in data:

out = base64.b64decode(data["image_base64"])

Path(output_path).write_bytes(out)

elif "image_url" in data:

img = requests.get(data["image_url"], timeout=120)

img.raise_for_status()

Path(output_path).write_bytes(img.content)

else:

raise RuntimeError("No image in response")


return output_path


if __name__ == "__main__":

out = run_image_to_image(

input_path="input.png",

prompt="softer morning light, subtle warm highlights, clean contrast",

strength=0.35,

width=1280,

height=720,

seed=1234,

)

print("Saved:", out)
Handling Image URLs
I’ve had fewer failures using base64 uploads than remote URLs. When I did use URLs:
- Make sure they’re publicly accessible (no expiring signed links mid-run).
- Prefer HTTPS and stable hosts.
- Normalize sizes first. If the provider auto-resizes, your aspect ratios can drift.
One small trick: if I must use URLs (say, images live in a CMS), I add a simple proxy that downloads the file, checks the mime type and size, and rehosts it briefly. That removes a whole class of “404 during generation” errors.
Practical Use Cases
These are the jobs where Z-Image-Turbo earned a spot in my week. Not flashy, just reliable.
Photo Enhancement & Upscaling
I use 0.2–0.35 strength with a short prompt like “clean contrast, natural skin tone, reduce color noise.” It doesn’t save time the first pass because I tweak a bit, but by the third run I noticed it reduced mental effort. I wasn’t making micro-decisions in Lightroom: I was giving a nudge and moving on.
For upscaling, I set width/height to the target and keep steps moderate. Outputs are cleaner than naive resize, but halos can appear on hard edges. If I see that, I run a second pass at 0.15 strength with a “sharper edges, no halos” note.
Style Transfer Workflows
When teams want a shared look but sources vary, I pin strength at 0.65–0.75. I write one or two tight sentences about materials and light (e.g., “matte paper texture, soft directional light from left, muted palette”). This harmonizes a messy set fast. It’s not a silver bullet for brand lockup, but it gets things 70% of the way. Then I do small manual fixes.
I also keep a “style library”, basically a YAML file of prompts with names. That way I can switch styles in code without rewriting descriptions. It keeps me from overfitting prompts to one image.
Product Image Variations
For ecommerce banners, I keep product edges. Two habits help:
- Mask or crop out live text before the run. Reapply text after.
- Stay under 0.5 strength unless you want the model to invent materials.
Prompts like “soft studio lighting, neutral gray background, gentle shadow under product” do well. If reflections get messy, I set a seed and rerun with slightly lower guidance to relax the prompt pull.
Related Articles
Claude Code Leaked Source: BUDDY, KAIROS & Every Hidden Feature Inside
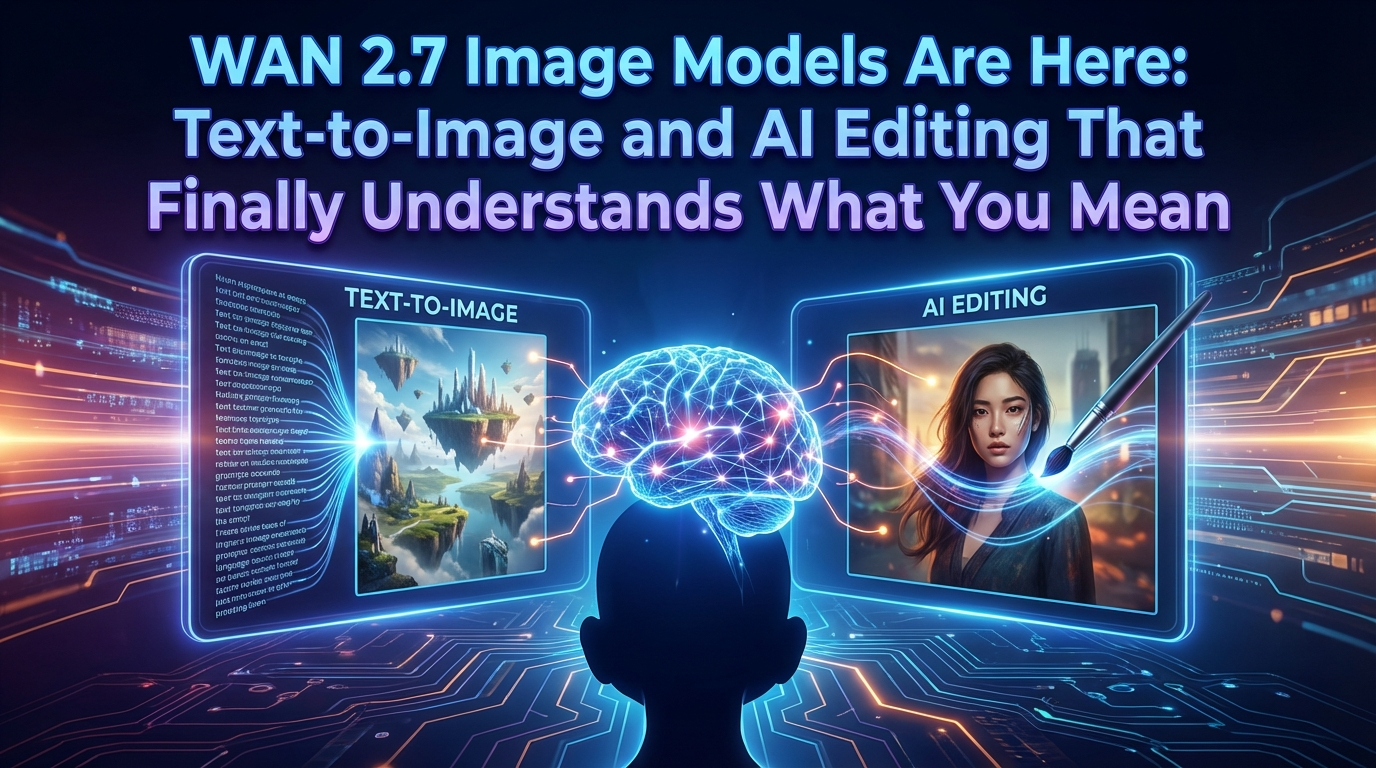
Introducing Alibaba WAN 2.7 Image Edit on WaveSpeedAI

Introducing Alibaba WAN 2.7 Image Edit Pro on WaveSpeedAI

Introducing Alibaba WAN 2.7 Text-to-Image on WaveSpeedAI
Introducing Alibaba WAN 2.7 Text-to-Image Pro on WaveSpeedAI