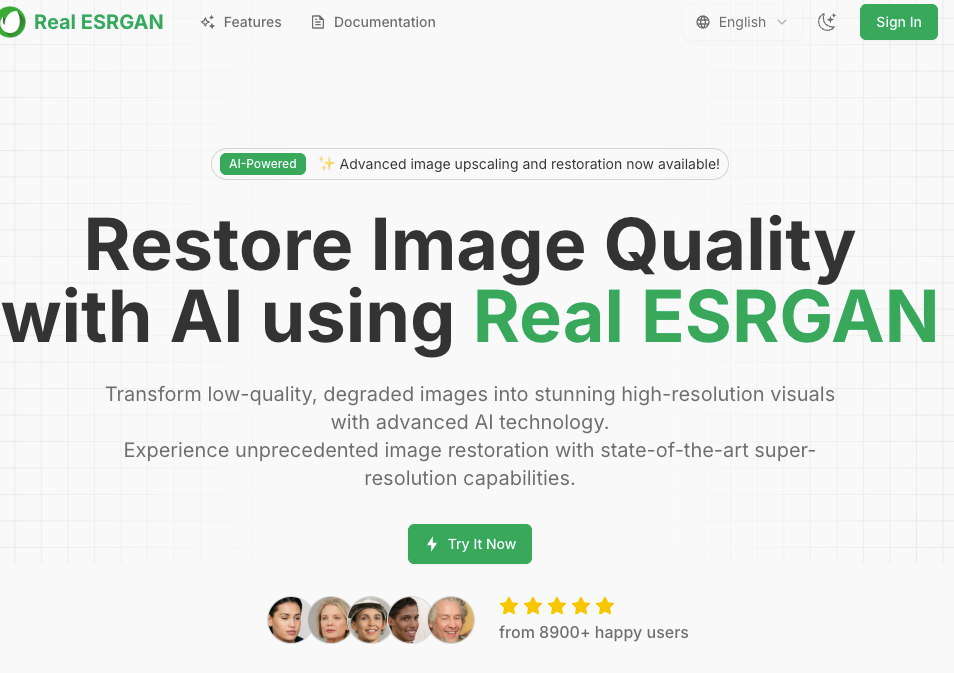
Real-ESRGAN Download: Install and Use Guide

Hi, I’m Dora. The first time I typed “real-esrgan download” I wasn’t chasing a miracle. I just wanted to clean up a fuzzy product shot without opening a dozen tabs or wrestling with a GUI that tries to be helpful. I’d seen Real-ESRGAN mentioned for years, but I kept skipping it because every guide sounded louder than the tool. In early March 2026, I finally sat down with a quiet goal: install it safely, run a few images, and see where it fits.
Here’s what I learned, what Real-ESRGAN still does well, where to download it without drama, and the small setup snags that tripped me before they became muscle memory.
What Real-ESRGAN Is Best For
Image upscaling basics
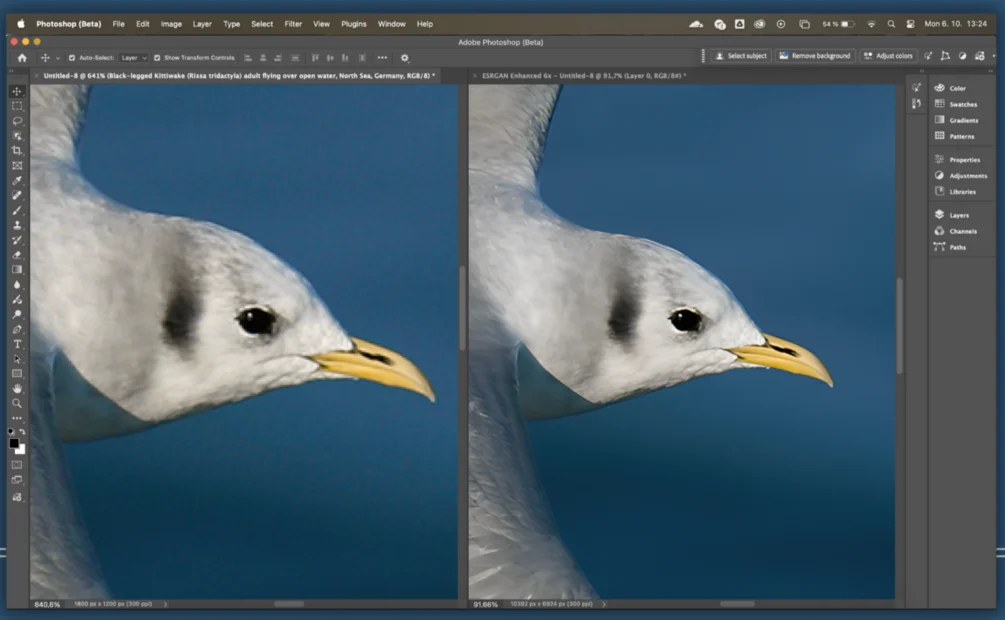
I treat upscaling as repair more than magic. Real-ESRGAN takes a low‑res image and predicts missing detail so you can use it at 2× or 4× scale without the crunchy edges. It’s trained on real‑world degradations (not just neat lab noise), which matters when your source is a screenshot from a 2017 blog or a compressed WhatsApp photo you can’t retake.
When I tested in March 2026 on a Windows 11 laptop (RTX 3060) and a MacBook Air (M2), Real-ESRGAN produced solid, steady results on:
- Old UI screenshots and slide graphics
- Product labels, packaging, and simple textures
- Logos without tiny text
It’s not a “wow” tool, it’s a dependable one. That’s a compliment.
Where it still holds up
I compared it against a few paid options and wrappers I already use. Real-ESRGAN holds up when:
- The input is clean-ish but small. It fills the edges without inventing flashy detail.
- You care about consistency across a batch (social banners, documentation images) more than per‑image perfection.
- You want a scriptable path that won’t change its mind every month. Developers who prefer API pipelines often explore guides on how to use the Z-Image Turbo API for automated image generation workflows.
Where it strains: very fine text, faces, and busy natural scenes (foliage, hair). You can pair it with a face fixer, but I prefer to keep expectations simple, scale first, then decide if it needs a second pass somewhere else.
Where to Download Real-ESRGAN Safely
Official or trusted sources
This part matters. Search results are noisy, and mirrored builds can carry surprises. What worked for me:
- Official repository: Real-ESRGAN on GitHub (xinntao)
- Good for the Python/PyTorch implementation, docs, and inference script.
- Prebuilt CLI (fast, no Python): realesrgan-ncnn-vulkan releases and the maintained binary repo by nihui linked there. These are small command‑line tools for Windows, macOS, and Linux.
- PyPI (if you prefer pip): realesrgan on PyPI, check the maintainer and version notes against the GitHub readme before trusting it in a production box.
- For CUDA/PyTorch specifics: install from the official PyTorch site to match your GPU drivers.
A simple rule I follow: if a page doesn’t link back to the main GitHub repo or the maintainer’s profile, I back out.

Files you actually need
This depends on your route:
- ncnn-vulkan binaries (quick start): download the archive for your OS from the releases page. It includes executable and model files. Unzip it somewhere you control (e.g., a tools folder, not Downloads).
- Python/PyTorch route: clone the repo from GitHub, then grab the model weights. The common ones are:
- RealESRGAN_x4plus.pth (general 4×)
- RealESRGAN_x4plus_anime_6B.pth (anime/line art)
If a download asks for an installer with system‑wide changes for a simple CLI, I pause. The portable zips and cloned repos have been enough for me.
How to Install Real-ESRGAN
Basic setup path
I tried two paths in March 2026:
- ncnn-vulkan (zero‑Python, fastest to first result)
- Download the latest realesrgan-ncnn-vulkan zip for your OS.
- Unzip to something like C:/tools/realesrgan or ~/tools/realesrgan.
- Optional: add the folder to PATH so you can run the command from anywhere. I didn’t at first: I just cd’d into the folder. Both work.
- Python/PyTorch (more flexible, scriptable)
- Install PyTorch with the right CUDA version (on Windows with NVIDIA) from the official selector. My 3060 needed CUDA 12.x drivers: mismatches cause cryptic errors.
- Clone the Real-ESRGAN repo from GitHub.
- Install requirements with pip inside a virtual environment.
- Download the .pth model weights into the weights folder (the repo readme shows exact paths). Then use the provided inference script.
Both paths are fine. If you just want to upscale images without touching Python, ncnn-vulkan is the calmest start.
What first-time users usually miss
These tripped me too:
- Model placement: the Python script looks for models in specific folders. If it can’t find a .pth, it silently picks a default or errors out.
- GPU expectations: PyTorch wants a CUDA build that matches your driver. If “torch.cuda.is_available()” is False when you expected True, you’re not crazy, your versions just don’t match.
- Tiles and memory: 4× upscales on big images can hit VRAM limits. Smaller tile sizes help, even if it runs a bit slower.
- Filenames with spaces: the CLI is fine with quotes, but I still keep test files simple until everything works.

How to Run Your First Test
Image input workflow
I started with one small, ugly screenshot. With ncnn-vulkan, from the extracted folder:
- On Windows or macOS Terminal:
./realesrgan-ncnn-vulkan -i input.jpg -o output.png
This uses the default 4× model. If it runs, you’re most of the way there.
With the Python script (from the repo root):
python inference_realesrgan.py -n RealESRGAN_x4plus -i path/to/input.jpg -o path/to/output.png --outscale 4
The first run took me a couple minutes end‑to‑end, mostly because I double‑checked I was using the right model. After two or three images, I stopped thinking about it.
Output settings for beginners
I keep it simple at first:
- Scale: 2× for social images you’ll compress again: 4× when you need more room to crop.
- Format: PNG when you’ll edit further: JPEG when you’re done and want smaller files.
- Model: x4plus for general photos and UI: the anime model for line art, icons, or manga‑style art.
If the result looks a bit “plasticky,” I try 2× instead of 4× and lightly sharpen in an editor. And if tiny text still blurs, I accept the limit and replace the text manually. That’s not a failure, it’s just the honest boundary of the model.
Common Setup Problems and Fixes
Missing dependencies
- PyTorch not seeing your GPU: reinstall PyTorch with the exact CUDA build your driver support (use the official selector). If you’re on a laptop GPU, update drivers first.
- Visual C++ runtime on Windows: if the binary complains about missing DLLs, install the latest Microsoft Visual C++ Redistributable.
- macOS permissions: if the app is “from an unidentified developer,” right‑click Open once to whitelist it.
Path / model file issues
- Python route: make sure the .pth files are in the weights folder the script expects. Use the exact model name flag (e.g.,
-n RealESRGAN_x4plus). - ncnn-vulkan: run from the folder with the executable and models, or provide full paths. If it says it can’t load the model, you likely moved the exe without the models.
- Spaces in paths: quote them. I still prefer short, simple paths for repeatable scripts.
GPU or performance issues
- VRAM errors: reduce tile size (both implementations support tiling). It’s slower but steadier.
- Vulkan backend hiccups: update GPU drivers. On older Intel iGPUs, I’ve seen it fail silently: trying a different machine saved me time.
- Thermals on laptops: long batches will throttle. I set a gentler thread count or take breaks between chunks. Slower is better than a crash at 95%.
Real-ESRGAN in a Real Workflow
When it’s enough on its own
Real-ESRGAN earns its keep on quiet, repeatable tasks:
- Refreshing old screenshots for docs without re‑capturing flows
- Making small product shots usable for a newsletter, or even turning product photos into short AI videos, which some creators now do with tools like Seedance.
- Upscaling icons and simple graphics before a design pass
In my March tests, a batch of 40 screenshots took about 8–10 minutes on the 3060 using ncnn-vulkan. Not faster than some GUIs, but lighter on my attention. Start, check once, move on.
When users move to Topaz or wrappers
If you want a friendly UI, batch presets, or a more modern AI image generator like Z-Image Turbo, wrappers and paid apps help.
- Upscayl and chaiNNer give Real‑ESRGAN a simple UI.
- Topaz Gigapixel AI tends to do better with faces, hair, and busy natural textures. It also handles aggressive crops with fewer halos.
I still reach for Real-ESRGAN first when I need a dependable 2×/4× without fuss. If the image fights back, tiny serif text, noisy backgrounds, I try a second pass in another tool. No heroics, just a nudge where it helps.
A small note on “real-esrgan download”: searching the exact phrase kept bringing me to aggregator sites. The official GitHub links remain the cleanest path. If you’re dealing with similar constraints, it’s worth a look. I don’t have a neat ending here, only that the tool faded into the background after a day, which is usually my sign to keep it around.
Related Articles

LTX-2.3 API Guide: 7 Endpoints, Access Options & Production Use
LTX-2.3: What's New in Lightricks' 22B Video Model (2026)

WaveSpeedAI vs Media.io Watermark Remover: Which One Actually Delivers?

Goodbye Sora: Top 5 Best Sora Alternatives for Making AI Videos in 2026

Google Veo 4: What We Might See From Google's Next AI Video Model