Best Image To Video Ai Generator
Free video generator — best image to video ai generator. WaveSpeed AI: fast, no watermark, free to start.
This query is less about “no rules” and more about lower friction.
When people type this phrase, they are usually looking for a tool that gets to a usable image faster. The label is secondary. The workflow is the real product.
Most users really want broader style range, faster iteration, and fewer dead ends before the first promising draft.
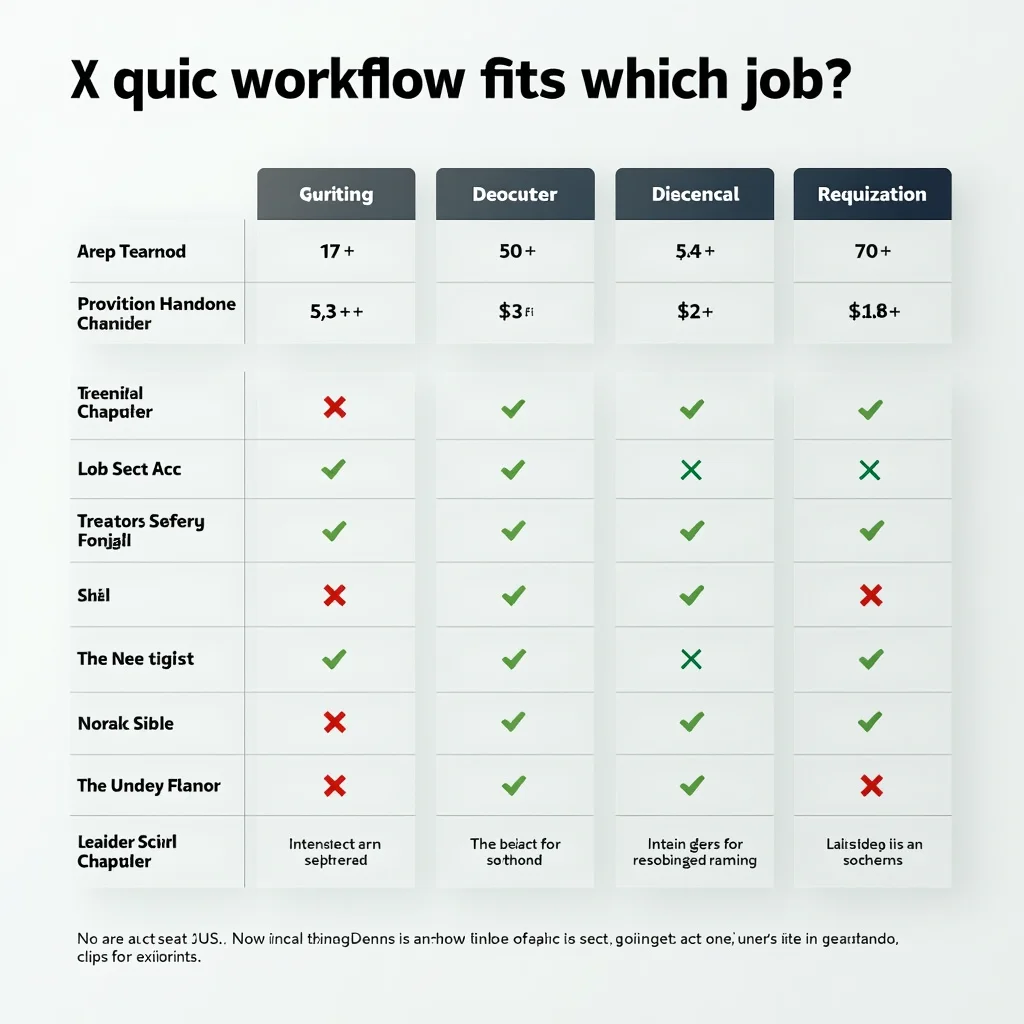
What to compare before you choose.
If you compare workflow instead of marketing copy, the evaluation gets much clearer.
Some models follow instructions better than others.
Clearer outputs, fewer ignored details.
You may want realism, art, or concept work.
More than one visual mode.
Text-only tools can feel random.
Uploads, editing, or image-to-image paths.
Many users want to test before committing.
Easy first use, less setup.
WaveSpeed fits better when you want to move between modes, not stay trapped in one.
That is the real advantage for this query: you can move from quick draft to prompt control to reference-based editing without rebuilding your process each time.
Step 1: Start with the right source image
Pick an image that already has the composition, lighting, and subject focus you want. A strong input usually gives you a stronger result.
Step 2: Test the motion style that matches your goal
Try subtle motion if you need realism. Try more active movement if you want energy. Try stylized motion if the project is creative or experimental.
Step 3: Keep the workflow that gives repeatable results
The best option is not always the flashiest one. The best option is the one you can use again with similar quality, similar framing, and fewer surprises.
Fast image models
Good when you want many drafts fast and need to pressure-test loose ideas before polishing.
Let the image story keep moving.
Since this page already has a lot of visual material, a looping gallery works better than leaving every image trapped in its own static block. It gives the page a rhythm and helps people understand the range faster.


Test range with prompts that actually expose differences.
Simple prompts hide too much. Use scenes that reveal style range, structure, and prompt adherence.
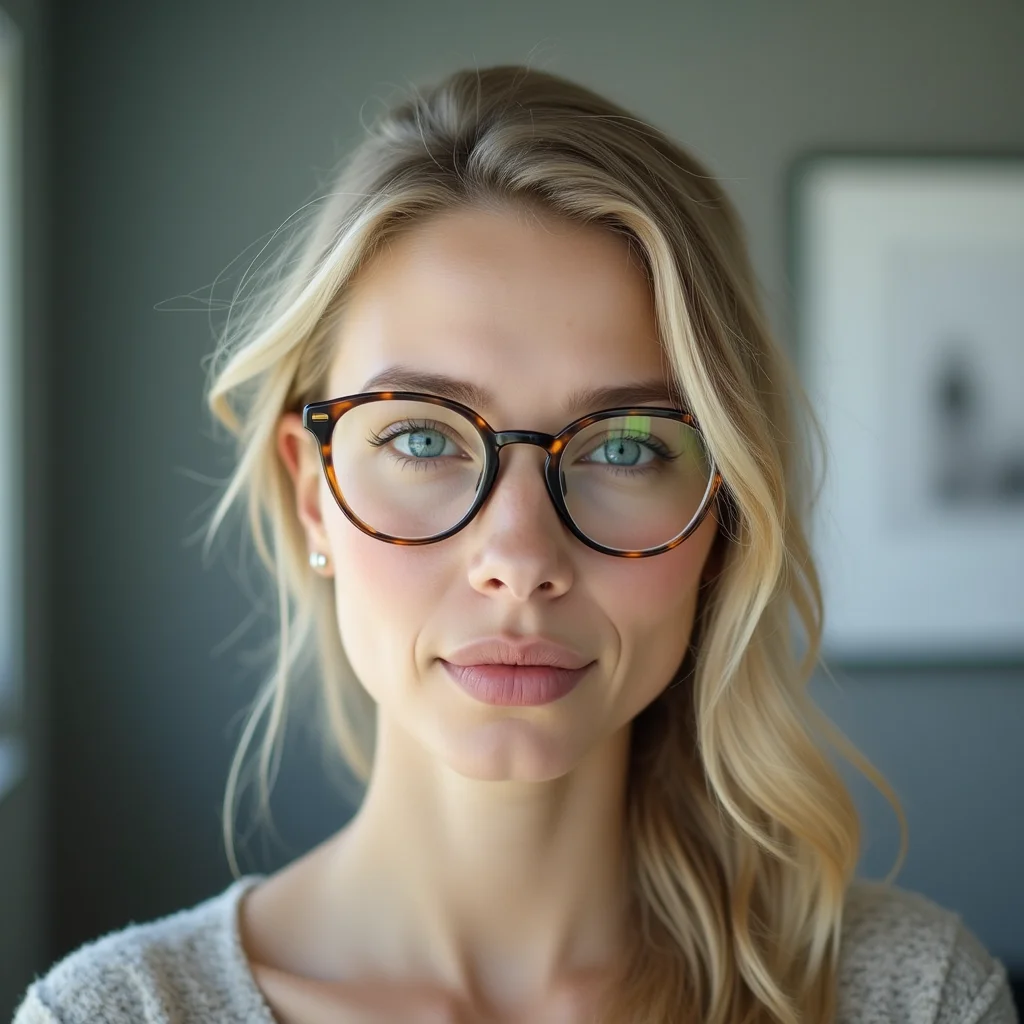
A cinematic portrait with soft rim light and a blue background.
A futuristic city at sunrise, wide angle, highly detailed.
A product mockup on a clean studio table with natural shadows.
A surreal poster with bold color contrast and sharp typography.
A reference image remix that keeps the pose but changes the style.
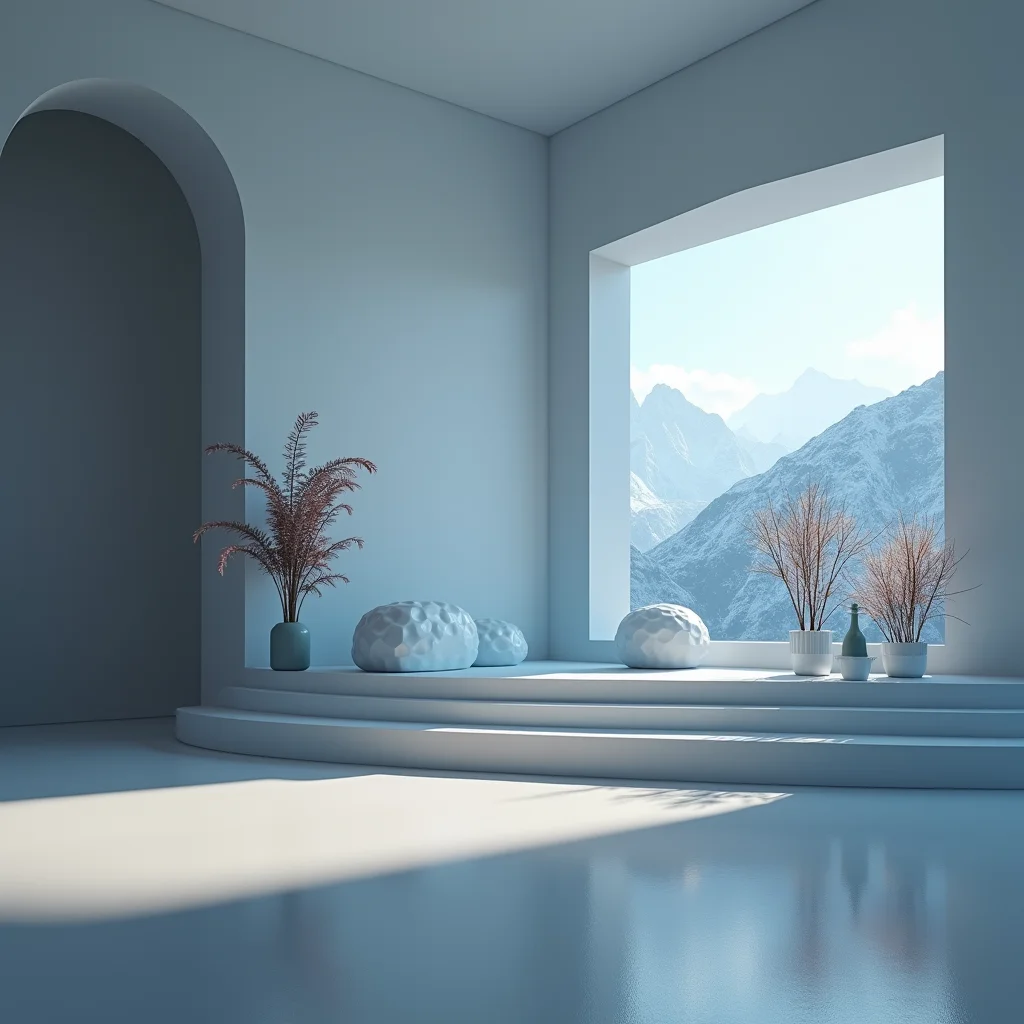
A luxury editorial still life with reflective metal, soft daylight, and minimalist staging.
Where this kind of tool works best.
This is especially useful when you want creative freedom but still care about consistency, speed, and being able to keep iterating without switching stacks.
You want a tool that can sketch fast, shift style quickly, and still give you a path into more controlled editing once the first draft is close.
Different models respond differently to the same prompt, which is exactly why the “best” tool for this search is often the platform that lets you compare instead of commit too early.
How to use it in three steps.
Start with an open-ended prompt
Enter a prompt or upload a reference image.
Switch models when the style drifts
Choose a model based on speed, editing, or prompt fidelity.
Move into reference or edit mode
Generate, review, and compare results until you find the direction you want.
Frequently Asked Questions
Is WaveSpeedAI claiming to be the single best tool for everyone?+
No. The better question is which workflow fits your image, motion goal, and level of control. One tool may be better for a portrait, while another is better for a product shot or a cinematic scene.
Why do people compare Runway, Kling, Veo, Sora, and Pika?+
Because users often associate them with different strengths. Some are known for natural motion, some for strong realism, some for prompt adherence, and some for creative flexibility. The right choice depends on the image and the result you want.
Should I choose realism or control first?+
If you need repeatable results, control usually matters first. If you only need one polished output, realism may matter more. In many workflows, the best result comes from a balance of both.
What usually causes image-to-video results to look off?+
The most common problems are vague prompts, too much scene change, and weak source images. If the model cannot keep the subject stable, the clip may look impressive but feel disconnected from the original image.
What is the best starting point for a new user?+
Start with one clear image, one short prompt, and one goal. Compare the result against another workflow only if the first output misses the look you want. That keeps testing simple and saves time.