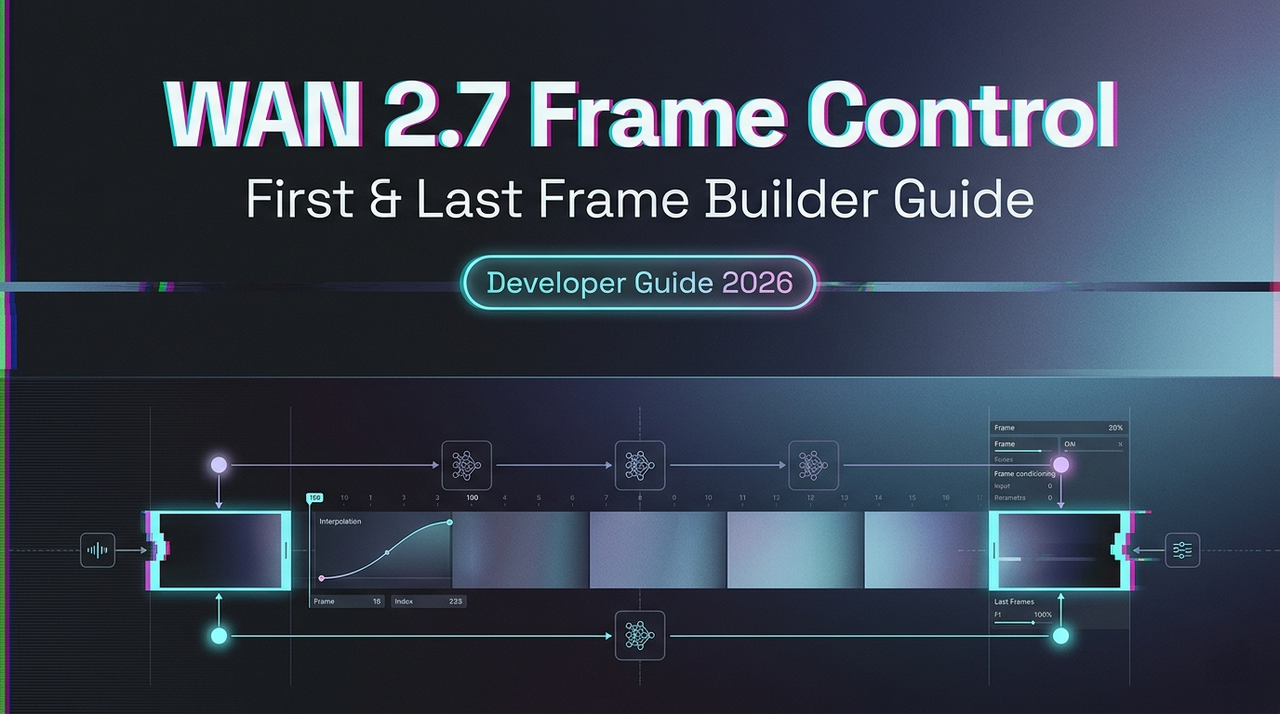
WAN 2.7 First & Last Frame Control: Builder Guide
Hey, guys, Dora is coming. I kept seeing teams describe first/last frame control as “you just upload two images.” That’s like describing async job queues as “you just wait.” The mechanics aren’t hard — but the input design decisions are where most production workflows quietly fall apart.
This guide is for builders who need repeatable output, not just a demo that worked once.
What First-Frame & Last-Frame Control Actually Does
The Problem It Solves vs Standard I2V
Standard image-to-video (I2V) anchors the opening frame and then the model improvises. The result is what the community often calls “drift” — the subject, camera position, or lighting gradually diverges from any target state you had in mind. For product demos or narrative sequences with a required endpoint, this is expensive to fix in post.
WAN’s FLF2V approach uses an additional control adjustment mechanism: first and last frames are treated as control conditions, and semantic features from both images are injected into the generation process. This keeps style, content, and structure consistent while the model dynamically transforms between them.
How Both Frames Are Used During Generation
The model doesn’t simply interpolate pixel values. It uses CLIP semantic features and cross-attention mechanisms to keep the video stable — this design has been shown to reduce video jitter compared to single-anchor approaches. Your first frame defines the initial state; your last frame constrains the destination. The motion path between them is inferred, not specified, which is both the power and the main failure mode.
What the Model Infers About the Path Between Them
Your text prompt guides how the transition happens — not just that it happens. If your prompt says “the product rotates slowly and reveals its front face,” that motion description shapes the inferred path. Without a prompt, the model will still attempt a plausible transition, but you’ll have far less control over direction changes, camera movement, or pacing.
Input Preparation
Image Spec Requirements
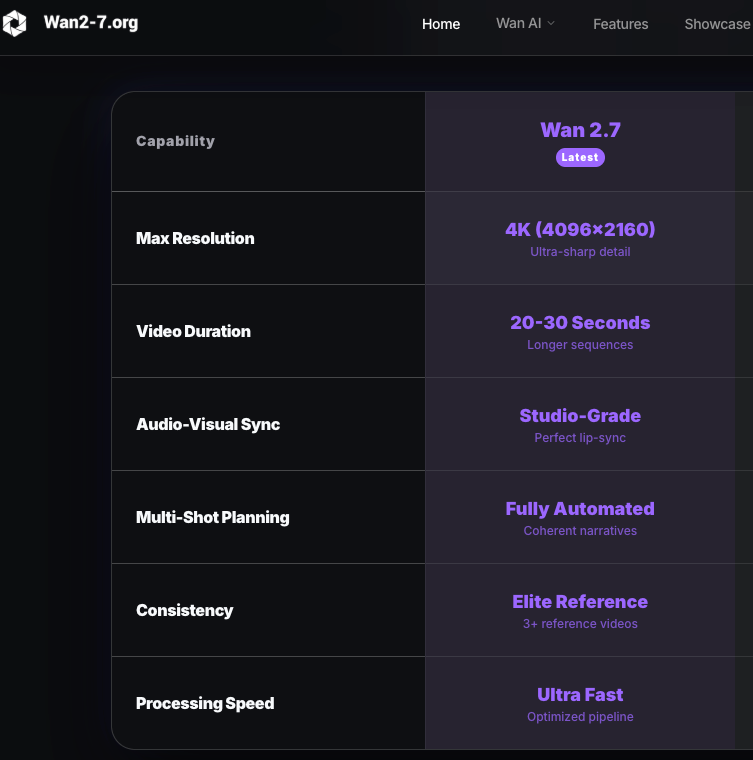
The model uses your first frame’s aspect ratio as close as possible to your target output. For a 3:4 input (750×1000), a 720P output setting will produce something around 816×1104 — not exactly 3:4. If you need exact ratios, plan to crop or letterbox in post. For the WAN series generally, 720p (1280×720 or portrait equivalent) is the recommended resolution for quality output; running smaller resolutions is a valid strategy for test iterations but not finals.
Format: PNG or high-quality JPEG. Avoid compressed thumbnails as first/last frames — compression artifacts introduce noise the model has to interpret as intentional visual information.
Frame Pairing Strategies That Work
The strongest pairs share three things: consistent light source direction, matching depth of field characteristics, and a subject that’s spatially plausible in both positions. A product shot in diffuse studio light paired with an end frame showing the same product at a slightly different angle works well. A packshot to a lifestyle hero shot works if the lighting setup is similar.
For narrative sequences, think about the pair as defining a verb: open → closed, before → after, assembling → complete. The cleaner the semantic relationship, the more coherent the inferred path.
What Makes a Bad Frame Pair
Three common culprits:
Inconsistent lighting direction. If your first frame has the key light at 45° left and your last frame was shot with overhead light, the model will attempt to transition between two different shadow environments. The result is usually a mid-clip light-source jump that looks like a render error.
Spatial mismatch. A wide establishing shot paired with a tight close-up forces the model to invent a camera move. Sometimes that’s intentional; usually it isn’t. Keep focal distance roughly consistent unless you’re explicitly prompting for a zoom or pull.
Conflicting depth cues. Bokeh in the first frame, everything in focus in the last — the model will interpret this as a depth-of-field change and try to animate it. That’s not always wrong, but it’s rarely what you intended.
API Implementation
The following reflects the documented FLF2V pattern for the WAN series. Verify current parameter names and endpoint paths in the Alibaba Cloud Model Studio documentation before production use. WAN 2.7 API specifics should be confirmed at launch.
Payload Structure
The core pattern involves two image inputs — one via public URL or local file path — passed as first_frame_url and last_frame_url, alongside a text prompt and resolution setting.
Python Request Pattern (Pseudocode)
# Verify model name and endpoint at launch — names change across versions
import os
from dashscope import VideoSynthesis

response = VideoSynthesis.async_call(
    model="wan2.x-flf2v-<verify-at-launch>",  # confirm exact model string
    first_frame_url="https://your-cdn.com/start.png",
    last_frame_url="https://your-cdn.com/end.png",
    prompt="Fixed camera. Begin from first image, end at last image. [describe motion]",
    negative_prompt="flicker, warping, blur",
    resolution="720P",  # verify accepted values
    # seed parameter: lock this once you have a good run
)
task_id = response.output.task_id
Async Handling for Longer Jobs
Image-to-video generation tasks typically run 1–5 minutes. The API uses a two-step async pattern: submit the task, get a task ID, then poll for the result. Build polling into your pipeline from the start. Don’t assume synchronous behavior even for test calls — timeouts will silently drop results in naive implementations.
Production Workflow: Draft-to-Final Method
Step 1 — Build a Reference Pair and Run a Test
Start with a single pair. Don’t batch until you’ve seen one output end-to-end. Use your target content — not placeholder stock images — because spatial and lighting characteristics need to represent your actual asset library.
Step 2 — Validate the Motion Path Before Batch
Watch the full clip once at 0.5x speed. Look for: mid-clip jitter, subject identity drift around frame 50–70% through the clip (this is where most artifacts concentrate), and lighting discontinuity. If you see any of these, fix the input pair before touching the prompt.
Step 3 — Lock Your Best Seed for Consistency
Once you have a clean output, record the seed value. The FLF2V model accepts an optional prompt to guide in-between action and transformation logic. A locked seed plus a locked prompt gives you a reproducible generation unit you can apply across similar input pairs. This is what makes batch production predictable rather than probabilistic.
Step 4 — Scale to Batch Generation
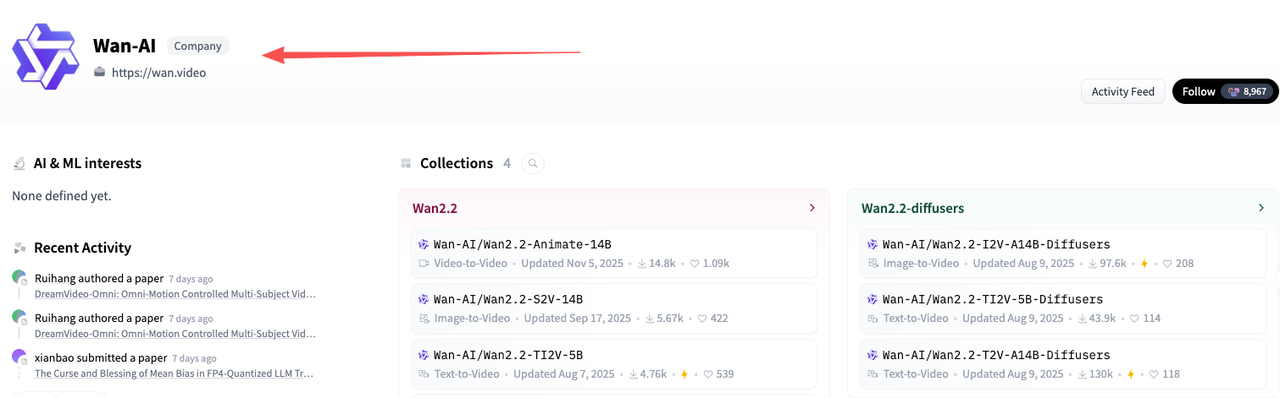
Structure your batch as: one canonical “test pair” that serves as your quality anchor, then variant pairs generated from the same controlled shooting setup. The Hugging Face model page for WAN FLF2V documents the open-weight version for teams running local inference alongside API calls.
Where This Feature Fits (and Where It Doesn’t)
Best for: product demo sequences where the endpoint matters (packshot → feature reveal), narrative continuity shots with a defined before/after, controlled camera paths where you need spatial stability across multiple clips in a series.
Not ideal for: highly dynamic motion with sharp direction changes (the model will smooth them out, often losing the drama), ambiguous spatial transitions where the first and last frames don’t share a clear semantic relationship, or scenarios requiring frame-accurate timing — the model controls pacing, not you.
Common Failure Patterns & Fixes
Motion artifact at mid-clip. Usually caused by a spatial mismatch in the input pair. The model “commits” to an interpolation path early, and the inconsistency surfaces around the midpoint. Fix: tighten the relationship between frames before changing the prompt.
Frame style inconsistency. If your first frame is a stylized render and your last is a photograph, the model will try to blend the visual styles. This rarely produces clean output. Match the image treatment — both renders, both photos, both illustrations.
Model ignoring the last frame. This happens when the prompt describes a motion that can’t logically terminate at your last frame. The model prioritizes prompt coherence over frame adherence when they conflict. Write your prompt to arrive at the last frame, not just depart from the first.
FAQ
- Can I use first/last frame with text-to-video or only I2V? The FLF2V mode is an extension of I2V. Both frame inputs are required. Standard T2V doesn’t accept end-frame constraints by design.
- What image format works best for frame inputs? PNG for anything requiring clean edges or transparency handling. High-quality JPEG (>90 quality) is fine for photography. Avoid WebP if your platform hasn’t confirmed support.
- Does this cost more than standard I2V? Pricing is resolution-dependent — 720p costs roughly twice 480p per generation. FLF2V itself doesn’t carry a separate premium in the documented pricing, but confirm with your specific platform.
- How do I handle motion that requires sharp direction changes? Break the sequence into multiple clips with intermediate frames as endpoints. Chain them in post rather than trying to get a single generation to handle discontinuous motion.
- Can I combine this with the 9-grid input mode? These are separate input modes. WAN 2.7 supports first/last frame control and 9-grid image-to-video as distinct features. They’re not currently combined in a single call — verify at launch if this changes.
Conclusion
The interesting design space with first/last frame control isn’t the API call — it’s the input pair. That’s where the real production leverage is, and it’s where most teams underinvest. A well-designed frame pair with a clear semantic relationship will consistently outperform a perfect prompt paired with a mismatched input.
For teams building batch pipelines: treat your input pair library as a first-class asset, not an afterthought. Once you have a locked seed and a validated pair format, the generation side becomes routine. The ComfyUI community has documented WAN FLF2V workflow configurations in detail if you’re also running local inference alongside API calls — worth reading for the node-level insight into how frame conditioning actually works.
I keep coming back to something quiet here: the constraint is the feature. Giving the model a destination forces you to be precise about what you actually want. That’s not a limitation — it’s a discipline that tends to produce better output than open-ended generation ever does.
Keep exploring AI video workflows:
- See how first/last frame control compares to other video generation models
- Understand how to maintain character consistency across generated video clips
- Explore real-world use cases for AI video generation in production workflows
- Learn how multi-image reference inputs improve generation control
- See how image-to-video pipelines are used across different tools
Related Articles
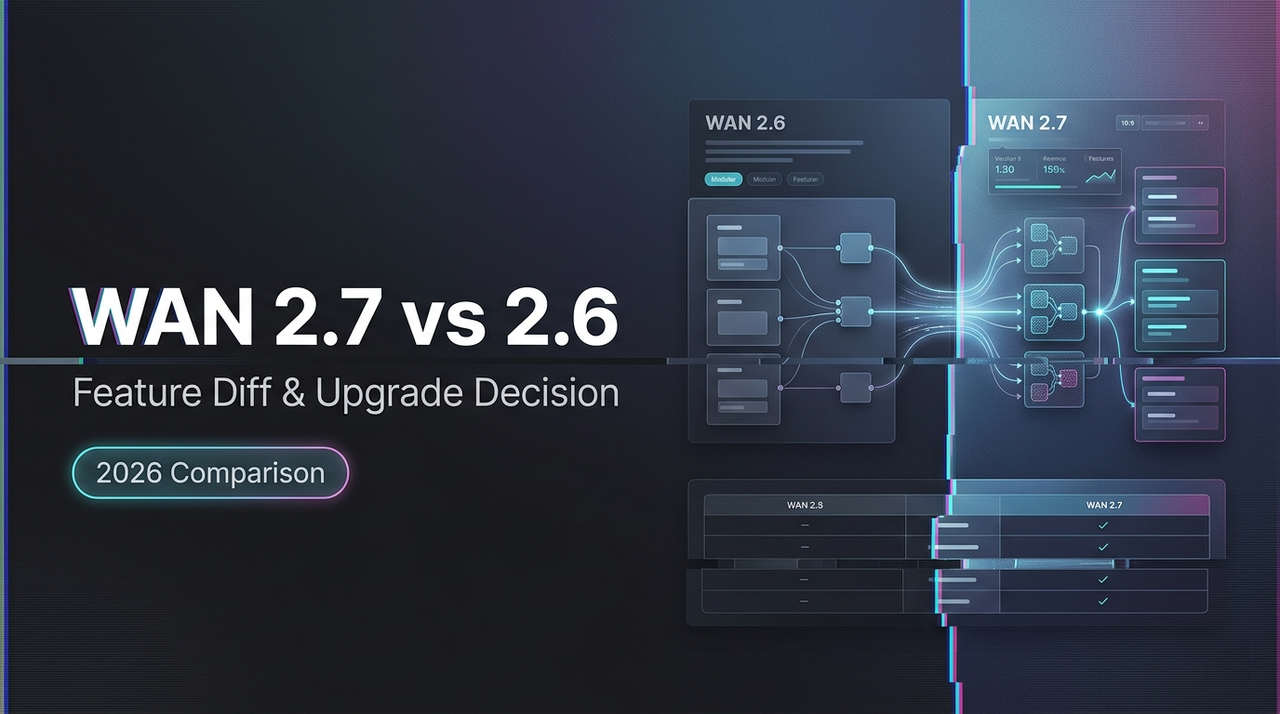
WAN 2.7 vs WAN 2.6: Feature Diff & Upgrade Decision
Best AI People Remover From Photos in 2026: Remove Unwanted People Instantly
Best Fotor Alternative in 2026: WaveSpeedAI for AI Image Generation & Editing
Best Free Audio Converter in 2026: Convert MP3, WAV, FLAC, AAC Instantly

Best Free Image Converter in 2026: Convert PNG, JPG, WebP, HEIC Locally