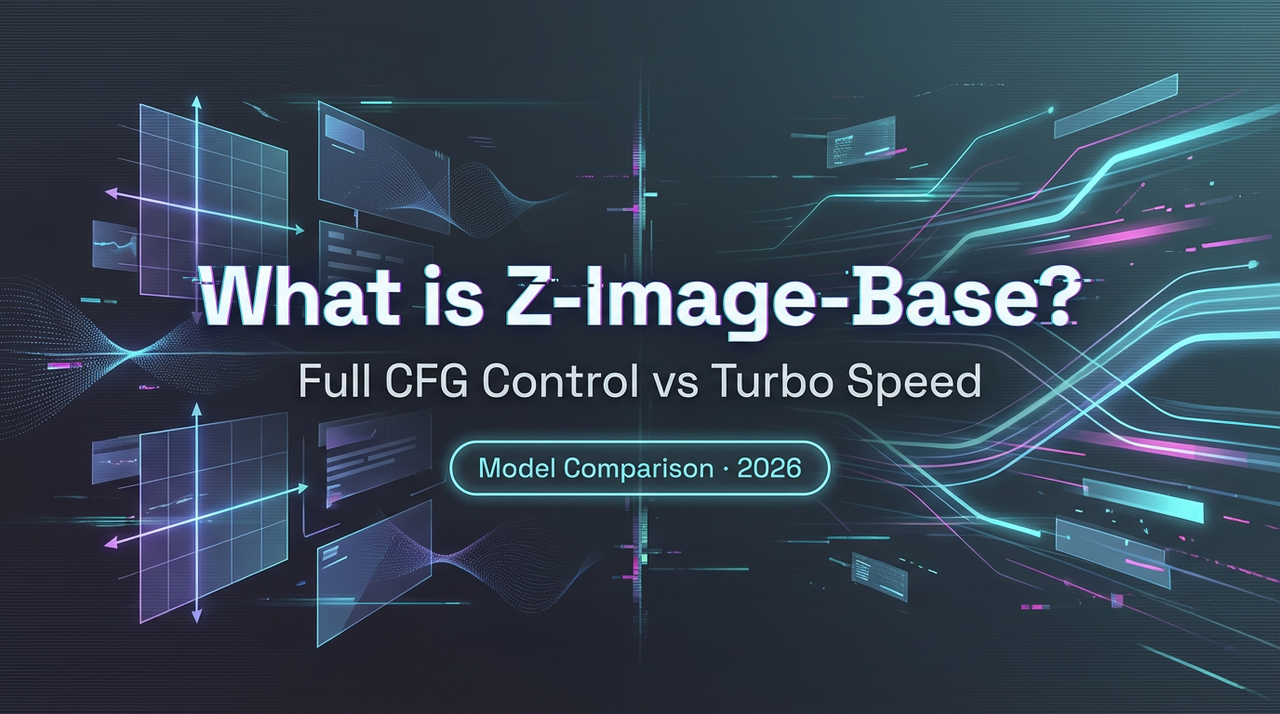
What is Z-Image-Base? Full CFG Control vs Turbo Speed
Hello, I’m Dora. I’ve been bothered by a small matter recently. I wanted my banner graphics to stop coming out a little… off. Colors would drift. Faces leaned uncanny. And when I tried to correct one thing, something else would slide. The tiny friction that finally got me was this: I couldn’t nudge results without throwing the whole image off balance.
So, last week and again this Monday morning (Feb 2026), I tried Z-Image-Base alongside its faster sibling, Z-Image-Turbo. I wasn’t chasing speed. I wanted steadier control, prompts that behaved, tweaks that stuck, and less mental gymnastics between runs.
What is Z-Image-Base?
Z-Image-Base is a 6B-parameter image generation model that leans toward control and predictability over raw speed. If Turbo feels like a sprint, Base feels like a steady walk with a map. It exposes more knobs that actually matter when you’re trying to match a reference, keep brand colors consistent, or iterate on one visual concept without losing the thread.
6B Parameter Architecture Overview
I’m not here to worship parameter counts, but the 6B mark signals something simple: enough capacity to hold style and structure without collapsing on small changes. In practice, I noticed two things while testing on Feb 2–3, 2026:
- Edits stacked more cleanly. Changing color temperature or lighting didn’t erase composition as often.
- Seeds behaved more predictably across runs. When I locked a seed and adjusted guidance strength, the scene evolved rather than reset.
It’s still a diffusion-style experience under the hood: guidance scales, noise schedules, and the usual dance of steps and seeds. If you care about the theory, this is where classifier-free guidance plays a role. But what mattered to me was this: my small prompt changes felt proportional to the output.
Key Differences vs Z-Image-Turbo
Turbo is cheaper and fast. It’s great for quick concept sweeps, thumbnails, mood boards, social drafts. But I kept running into the same wall: once I liked something, getting a precise variation (warmer tone, softer shadows, slightly tighter crop) took longer than it should.
Base gave me finer control. Negative prompts stuck better, reference images had more pull when I asked for it, and CFG adjustments felt linear instead of jumpy. Runs were slower and cost more per image, yes, but fewer retries made up for it on any task where fidelity mattered.
Core Capabilities of Z-Image-Base
These aren’t bullet-point features to memorize. They’re the levers I found myself using, and what changed when I did.
Full CFG Support
With Base, guidance behaved like a dimmer, not a light switch. Lower CFG let the model explore, useful when a prompt felt too stiff. Higher CFG snapped images closer to the text, but without the brittle, over-contrasted look I sometimes see in smaller or over-tuned models.
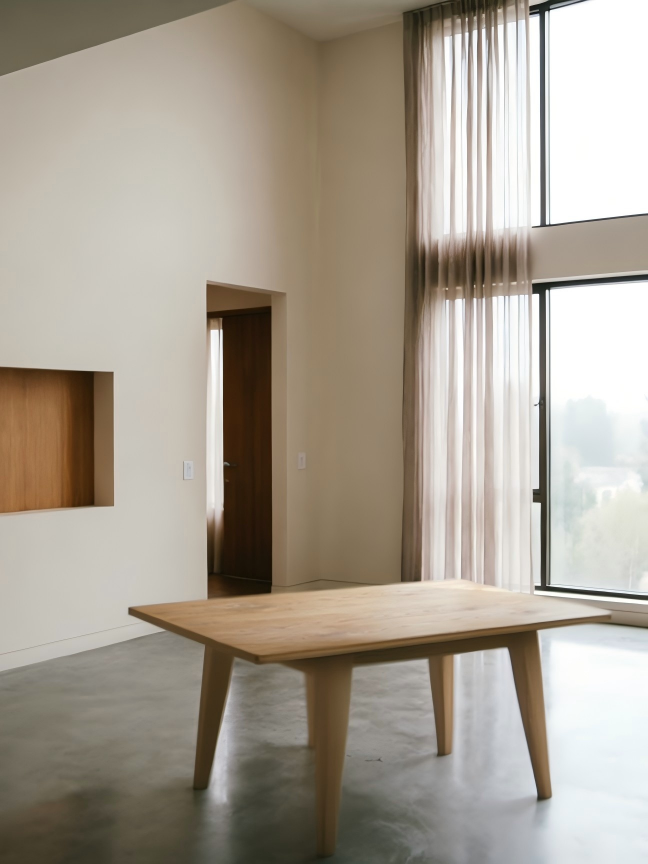
In a real pass: I generated a series of article headers (“calm workspace, muted palette, natural light, minimal clutter”). At CFG 4–5, I got soft, atmospheric results, nice, but vague. At 7–8, the composition locked in: desk, window light, clean lines. Above 10, details started to overconform (harsh edges, less organic light). My sweet spot settled around 7.5 for this style.
Negative Prompt Control
This is where Base earned my trust. When I asked for “no lens flare, no glossy reflections, no tilted angles,” the model actually backed off. With Turbo, those notes sometimes got ignored if the main prompt leaned cinematic.
A small example: for a product shot mockup, “no specular highlights” plus “matte finish” produced consistent surfaces across 6 out of 8 runs. Not perfect, but consistent enough that I wasn’t hand-retouching every render. The mental load dropped, fewer micro-corrections.
Reference Image Guidance
I used two references: a brand color card and a layout frame from a past design. Base respected both more strongly when I set the reference weight higher. Colors held within a range that matched the palette (not exact, but close enough that I didn’t need to repaint), and the composition stayed inside the frame without feeling rigid.
There’s a trade-off. Push reference weight too far and you get a stale echo of the source. Keep it moderate and you get continuity without cloning. For me, 0.35–0.55 felt right when I needed brand consistency: 0.15–0.25 when I just wanted a nudge.
Strength Parameter Tuning
Call it denoise strength, image-to-image strength, or just “how much should we change this?”, the knob matters. With Base, mid-strength edits (around 0.45–0.6 in my runs) preserved layout while letting style evolve. That’s ideal for “same scene, different mood.”
Two runs that stood out:
- I softened midday lighting to late-afternoon warmth without losing object placement. One slider move, one run, done.
- I swapped a textured background for a flat one while keeping the subject mask intact enough that I didn’t need to reshoot the silhouette.
This didn’t save me time at first, I fiddled. But after a few passes, I noticed it cut retries and reduced mental effort. The model changed what I asked, and left the rest alone.
When to Choose Base vs Turbo
I kept switching between the two for a day to feel the difference. The choice wasn’t philosophical: it was practical.
Choose Base: When Fine-Grained Control Matters
- You’re matching brand palettes or recurring layouts and small deviations are costly.
- You need negative prompts to stick (no glossy reflections, no extreme depth of field, no tilted horizon) because cleanup time adds up.
- You’re iterating on one concept over multiple runs and don’t want to reset composition every time you tweak lighting or color.
Base didn’t make images “better” on its own. It made corrections hold. That was the win.
Choose Turbo: When Speed Is the Priority
- You’re exploring directions, generating lots of options, or storyboarding quickly.
- You’re fine with roughness and plan to polish a small subset later.
- Cost is a factor and you want to cast a wide net first.
My pattern now: start in Turbo to map the space, move to Base once I spot a direction worth keeping. It’s a two-gear system that feels sane.
Pricing Comparison
Prices change, but here’s what I worked with during testing in early Feb 2026.
Base: $0.01/image
At a penny per image, Base isn’t expensive, but it’s not throwaway-cheap either. If you iterate deeply on one visual, say 20–40 runs, the extra control often pays for itself in fewer do-overs downstream (less manual editing, fewer restarts).
Turbo: $0.005/image
Half the price and noticeably faster. Great for generating 50–100 roughs to find a direction. If your workflow is “ideate wide, refine narrow,” Turbo keeps the first phase affordable.
Quick Start
If you’re curious and want to feel the difference without reading docs, this is the path I’d take.
- Pick one grounded prompt. Something familiar, like “soft-lit desk scene, muted colors, natural wood, no clutter.”
- Run 6–8 images in Turbo. Note one you’d actually use.
- Switch to Base with the same seed (or a close seed). Set CFG 7–8.
- Add negative prompts that matter to you (no harsh shadows, no lens flare, no tilted angle).
- If you have a reference, palette or layout, apply it with moderate weight (0.3–0.5).
- Use strength ~0.5 for a first variation. Push up or down in small steps.
- Keep what improves. Undo what fights you. Don’t chase perfection: chase repeatability.
This worked for me, your mileage may vary. The difference showed up not in a single “wow” image, but in how the model responded when I asked for small, boring fixes. That’s where tools either age well or get loud.
One last note: if you’re wondering “What is Z-Image-Base” beyond specs, it’s this for me, a model that lets small decisions stick. I’ll take that over fireworks any day.
Related Articles
GPT-5.4 Release Date: What the Signals Say

GPT-5.4 vs GPT-5.3: What Might Actually Change
Introducing Bria Embed Product on WaveSpeedAI
Introducing Google Nano Banana 2 Edit Fast on WaveSpeedAI