ComfyUI-LTXVideo Extension: LoRA Support, Workflows & When You Need It
The first time I tried ComfyUI LTXVideo, I wasn’t chasing new features. I just wanted a steady way to turn a rough storyboard into motion without babysitting every frame. My small friction: one more “missing node” error after a long day. I almost closed the window. Instead, I gave it the week (early January 2026) and ran it through a few real projects: a 12-second product loop, a teaching snippet for a course, and one of those texture-to-motion experiments that either looks clever or cursed.
What I found wasn’t magic. But it did make the work feel lighter in a few quiet spots. That’s usually the signal I look for.
Core Built-in vs Extension: What’s the Difference
I kept seeing people talk about “LTXVideo support in ComfyUI,” but it wasn’t clear what was native and what needed extra parts. Here’s what I noticed in practice.
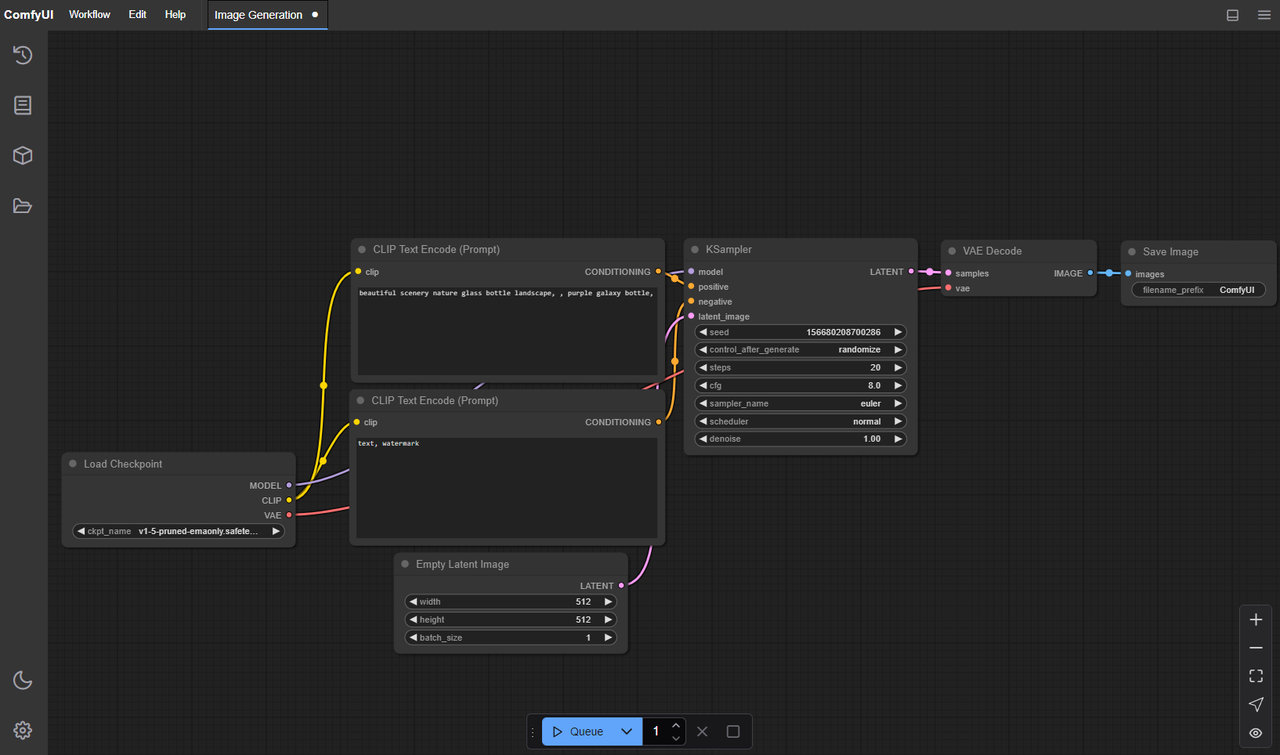
- Core (ComfyUI base): You can wire up general text-to-image/video flows, schedule samplers, and manage conditioning. The base app is rock solid for routing data, previewing frames, and keeping runs reproducible. But it doesn’t ship with specialized LTX-Video nodes by default.
- Extension (LTXVideo custom nodes): This adds model-aware nodes (loaders, samplers, conditioning blocks) built around the LTX-Video architecture. The extension understands the model’s motion length, context windows, and the little constraints that don’t map cleanly to generic nodes.
The difference shows up when you try to do less manual glue. With only core nodes, I was juggling tensor shapes, guessing defaults, and hitting shape mismatches. With the extension installed, the graph got shorter and errors dropped. I still had to think, just not about plumbing.
A small example: I built a 8–12 second loop with scene-consistent lighting. Core-only took me ~45 minutes to steady out: let me tell you, the extension version ran clean on the second try (about 15 minutes), because the pre-wired sampler and video assembler handled frame alignment without me fussing over it.
So, if you’re evaluating: core is enough if you like full control and don’t mind wiring. The extension is for when you care more about repeatable runs than hand-tuned pipes.
What the Extension Adds (workflows / nodes / LoRA)
I didn’t expect much when I clicked into the example graphs, I’ve seen too many “starter” workflows that are basically screenshots. These were better than that.
What helped me:
- Purpose-built nodes: Model loader for LTX-Video, a motion-length selector that avoids odd frame counts, and a sampler that respects the model’s timing sweet spots. They remove a few gotchas that usually show up only after a failed render.
- Example workflows: Three I kept coming back to, text-to-video base, image-to-video with motion injection, and style-transfer using LoRA. Each one is clear enough to start, but not so rigid that you can’t swap parts.
- LoRA hooks: The extension exposes LoRA strength and combination cleanly. I could stack a style LoRA with a light identity LoRA and still keep motion stable. I gotta say, that’s rare in early video setups.
One small surprise: the default color handling felt calmer than most open video models I’ve tried. Blues didn’t explode. Skin stayed within a believable range. I still had to nudge exposure, but I wasn’t firefighting saturation.
Limits I hit:
- Long sequences (over ~12–16 seconds) drifted unless I introduced anchor keyframes or split the run. That’s normal at this stage, but worth noting.
- Heavy LoRA stacking can wobble motion. Two is fine, three is dicey unless you under-crank strengths.
Installation & Update Steps
Prep
- Update ComfyUI to a recent build. I used the January 2026 nightly on both machines.
- Python 3.10–3.11 played nicest. I kept a fresh venv per machine.
Install the LTXVideo extension
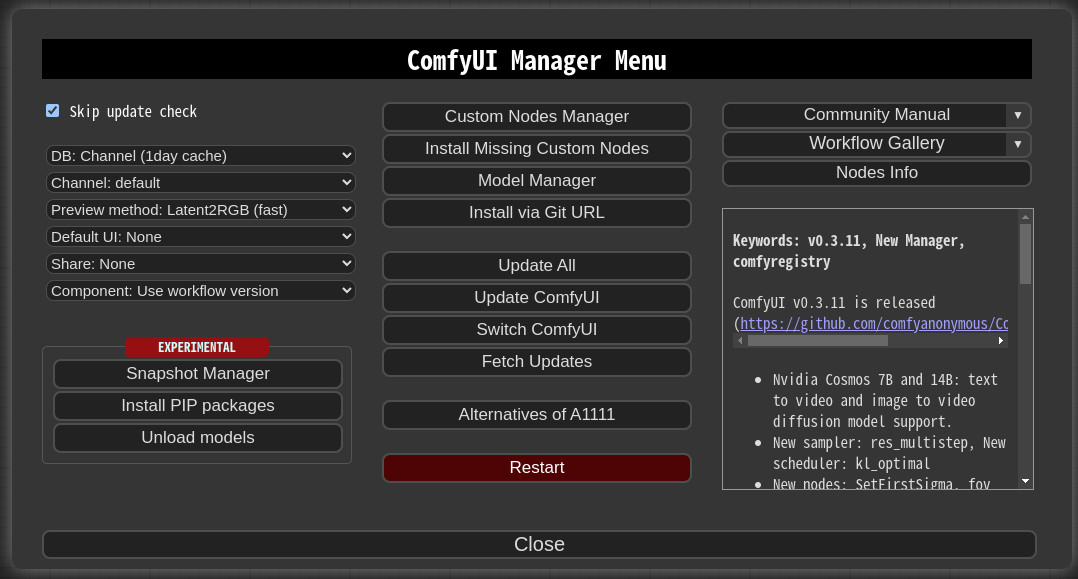
- Use ComfyUI-Manager if you have it: Search for “LTXVideo” or “ComfyUI-LTXVideo” and install.
- Manual route: clone the repo into ComfyUI/custom_nodes. Then install requirements (
pip install -r requirements.txt) inside your environment.
Models
- Put the LTX-Video checkpoint(s) where the extension expects them. Most versions look under
models/ltxvideoormodels/checkpoints: the node usually tells you the exact path on hover. - If you’re using LoRA, place them under
models/loras(or whatever the node lists as default).
CUDA and runtimes
- Linux with CUDA 12.x and PyTorch 2.3+ worked smoothly. On macOS, Metal worked, but I kept batch sizes small.
- If you see memory spikes on first run, reduce the motion length or set lower decode precision if the node exposes it.
Updates
- Pull latest from the extension repo. Reinstall requirements when major commits land (I ran into one torch-vision mismatch and a protobuf bump: both fixed with a clean reinstall).
- Clear ComfyUI cache if nodes don’t appear after an update. A quick restart often resolves stale imports.
Time cost: First install took me ~20 minutes on a clean Linux box, ~30 minutes on macOS because I had to re-link a few metal builds. Updates were minutes unless dependencies changed.
Example Workflows Walkthrough
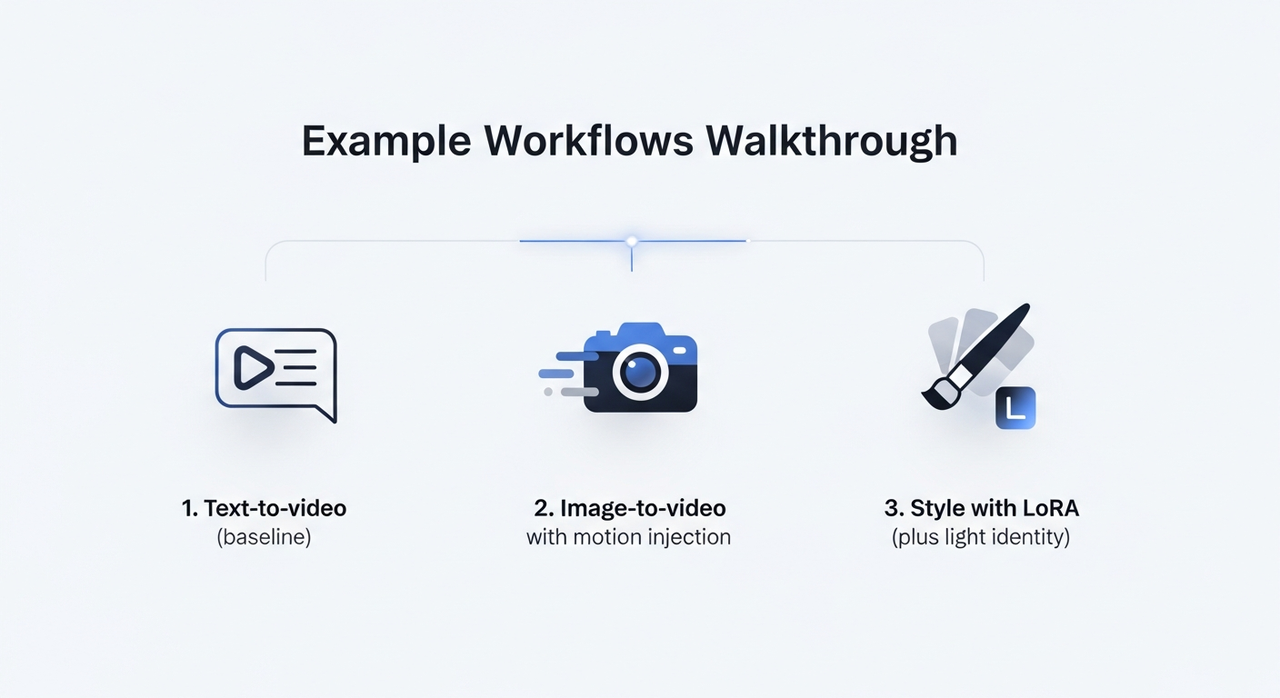 I ran three workflows several times each, tweaking just enough to see how stable they are.
1. Text-to-video (baseline)
- Setup: Prompt, negative prompt, the LTX-Video loader, the model’s sampler, and a video writer at 512–768 on the short edge. I kept motion length to 8–12 seconds.
- Observations: The first pass rarely nailed the exact pacing, but it gave me a stable “base take.” Second pass with minor prompt edits fixed most issues. Each render was 2–4 minutes on the A6000, ~6–8 on the M3 Max.
- Small tip: If motion looks floaty, tighten temporal guidance or reduce CFG a notch. For me, 4.5–6.5 was the usable band.
2. Image-to-video with motion injection
- Setup: A single reference image, plus a low-strength style LoRA to keep texture consistent. I used the extension’s motion node to nudge camera drift instead of letting it invent movement.
- Observations: This didn’t save time on the first try, I over-tuned. On the third run, I realized it lowered mental load: fewer artifacts to triage, fewer “what is that in the corner?” surprises.
- Practical note: If the subject warps around frame 3–5, add a mid-sequence hint image or anchor frame. I used two anchors for a 10-second clip and it felt locked in.
3. Style with LoRA (plus light identity)
- Setup: Base prompt, one style LoRA at 0.6–0.8, identity LoRA at 0.2–0.3, and conservative motion.
- Observations: The combination held better than I expected. Stronger than 0.8 on style started to “sheen” the textures, nice for posters, odd for motion. Keeping identity low avoided uncanny shifts.
- Export: I wrote to ProRes for grading. H.264 is fine for quick checks, but the colors looked better when I did a light pass in Resolve.
Across runs, I saved maybe 15–20 minutes per clip compared to stitching generic nodes. The bigger win was fewer restarts. Less tinkering, more deciding.
LoRA & IC-LoRA Basics
 I tend to reach for LoRA only when I need them. With LTXVideo, they’re worth the extra step, especially for consistency.
- LoRA: Think of it as a light stylistic fingerprint. In video, push gently. Strengths over ~0.8 look brittle as motion accumulates.
- Identity LoRA: Helpful for keeping a character or product stable across frames. I liked values in the 0.15–0.35 range.
- IC-LoRA (image-conditioned LoRA): This is where I found the most practical value. Feeding a clean reference image into IC-LoRA steadied details (logos, faces) without freezing the scene. I used one crisp front-facing image and sometimes a side angle as a secondary cue.
What matters in practice:
- Clean references beat clever prompts. Garbage in, garbage out, and it shows more in motion.
- Mix fewer, tune lighter. Two LoRAs lightly applied worked better than three fighting each other.
- Re-seed if micro-jitter shows up. A new seed plus the same anchors often solved tiny facial flicker.
”Missing Node” Fixes
I hit three flavors of “missing node” while testing. None were dramatic, but they do break flow.
- Extension not loaded: Make sure the LTXVideo folder sits under
ComfyUI/custom_nodesand that it has an__init__.py. Restart ComfyUI. If the log shows import errors, reinstall requirements for that node. - Dependency drift: Torch/CUDA mismatches surface as import errors. Align PyTorch and CUDA versions listed in the extension’s README. A fresh venv is faster than debugging a tangled one.
- Old workflows, new nodes: Some graphs reference renamed nodes. Open the JSON, search for the node class, and map it to the new name. Extension CHANGELOGs usually note these.
Quick sanity checks:
- Update ComfyUI-Manager, then “scan for updates.”
- Clear ComfyUI’s cache and restart.
- Confirm model paths in the load node, a missing checkpoint looks just like a missing node from the UI’s point of view.
Apply These Workflows on WaveSpeed
I tried a cloud run to see how this translates away from my desk. On WaveSpeed, I spun up a ComfyUI workspace with an RTX-class GPU and dropped in the LTXVideo extension the same way.
 Two notes if you go this route:
- Keep your models organized: I synced LTX-Video checkpoints and LoRAs into the expected folders (
models/ltxvideo,models/loras) first, then opened the example graphs. Trust me, no surprises once paths matched. - Run lengths: A cloud GPU let me test 12–16 second clips at higher resolution without sweating VRAM. It didn’t fix drift by itself, but it made iteration faster, I could render three takes in parallel and pick the keeper.
If you’re working on a laptop, this is a low-stress way to test ideas before committing to local installs. Your mileage may vary, but it spared me a few late-night compile loops.
The small, lingering thought: LTXVideo inside ComfyUI doesn’t try to wow you up front. It just shrinks the number of things you have to hold in your head at once. On busy days, that’s enough.
Related Articles

GPT-5 Model Versions Explained: From GPT-5 to GPT-5.4

How to Remove Sora Watermark: Best Methods

GPT-5.4 for Developers: What the Leaked Signals Mean for AI Workflows
SkyReels V4 Use Cases: 6 Ways Creators Can Use It Right Now

GPT-5.4 Release Date: What the Signals Say
