How to Train Your Own LoRA Model Without Coding?
Introduction
Would you like to create your own AIGC model? One that understands your habits, matches your style, and delivers results that truly reflect your vision? Then you should definitely try training a LoRA model — it will make your creative process more efficient and freeing.
LoRA is a lightweight fine-tuning method. Instead of training a large model from scratch, it builds on an existing one by adding a layer of “accelerated adaptation.” Think of it as giving a general-purpose model a custom-made outfit, helping it perform better on specific tasks.
Compared to traditional training methods, LoRA is faster, more cost-effective, and still provides highly personalized results. For example, you could train a LoRA to create illustrations in a specific art style or to better understand the prompts you often use — so the outputs are more accurate and aligned with your creative vision.
In this tutorial, we’ll guide you step by step through training a LoRA model. Then, you can easily create your own custom AI to enhance your creative projects.
Our training platform is WaveSpeedAI. You can find the training tools by searching for qwen-image-lora-trainer.
Data Upload
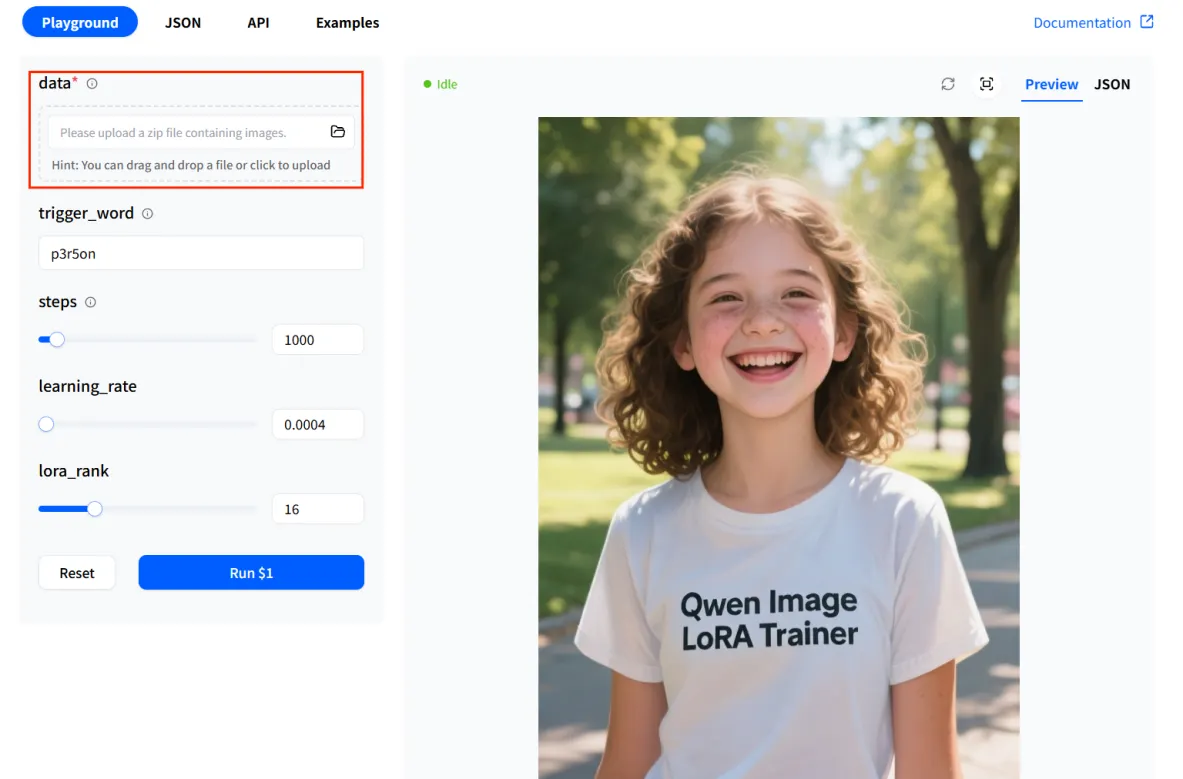
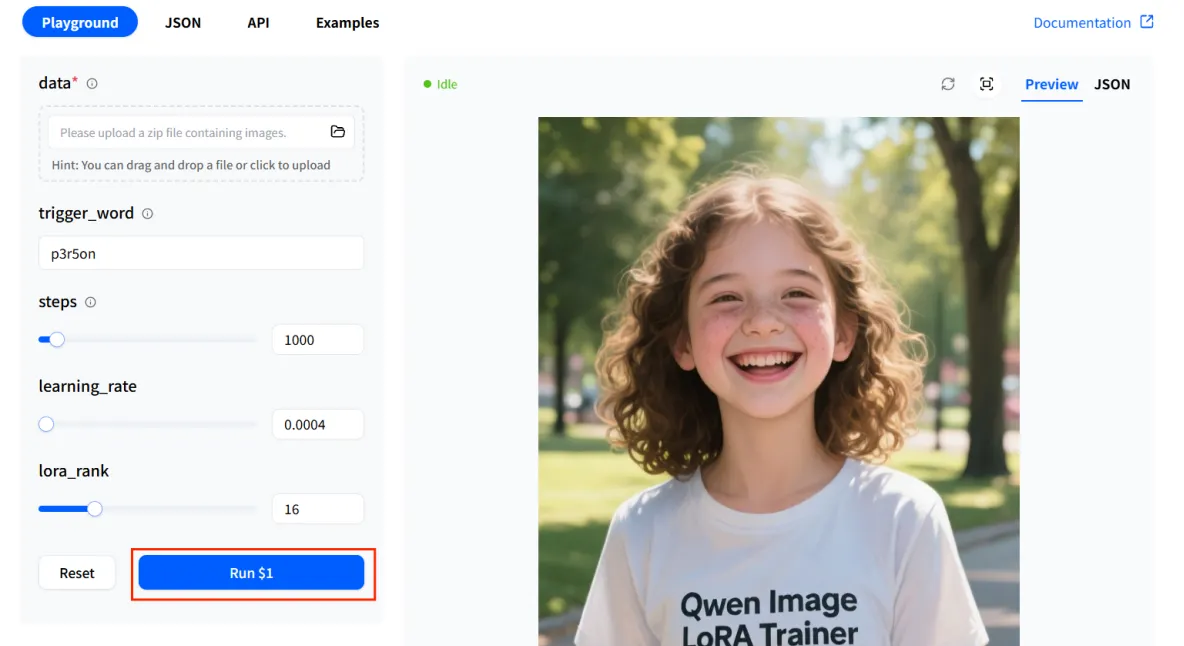
(1) As shown in the picture, click the data area and upload a .zip file that contains several images.
(2) We recommend preparing 10 to 20 images related to the effect you desire. For example, if you want to learn a comic artist’s style, gather their works and compress them into a .zip file.
P.S. To achieve the best training results, there are a few important things you should know about the images in your zip file.
a. Make sure the image set is diverse, showing the subject or style from various angles and perspectives.
b. Keep the subject or features clear, and avoid unnecessary details in the images.
c. Ensure high-quality images. The pictures should look nice, be clear, and have no watermarks.
d. It is best for all images to have the same size.
e. When creating the zip file, keep it organized. Only include image files and .txt files, and avoid adding any other types of files or extra content.
Set the trigger_word
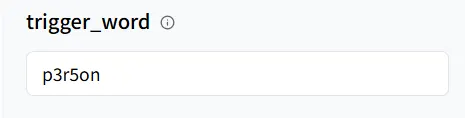
(1) The trigger_word tells the model: when you use this word in image generation, it links to the data you uploaded.
(2) In the trigger_word input box, you can enter a unique identifier, such as: p3r5on.
Usage rules:
a. Without captions: The model will directly use the word you enter in the trigger_word box (for example, p3r5on) as the only description for all images.
b. With captions: The system will not automatically insert the trigger_word. If you still want to use it, you need to manually add the trigger_word to each caption.
P.S. The caption is the text inside a .txt file that has the same name as the image. For example, if you want to train a model to generate pictures of Angelina Jolie, you can prepare the dataset as shown below:

In each .txt file with the same name as the image, we write the captions. For example, in 1.txt, we can write ‘Angelina Jolie in a black dress” as the caption. If we still want to use p3r5on as our trigger_word, then in 1.txt, we should write: “p3r5on Angelina Jolie in black dress.’
Configure Training Parameters
On the WaveSpeedAI platform, the key parameters are already preset for you. You only need to make minor adjustments according to your needs.
P.S. Keeping the default parameters will give you good results. If you want more personalized outcomes, you can adjust them yourself, but keep in mind: the larger the values, the slower the training will be.
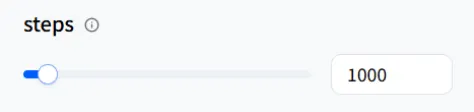
a. Steps: Like the number of times we learn in school. More steps mean the model learns more from your images and remembers them better. But if the steps are too few, the model may not learn clearly; if too many, it may only memorize the images and lose flexibility.
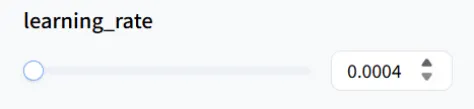
b. learning_rate: Similar to the learning speed. A higher value means the model learns quickly but may make mistakes. A lower value means it learns more gradually but takes more time.
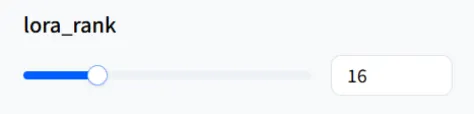
c. lora_rank: You can think of this as “memory capacity.” A higher value allows the model to remember details more accurately, but the file size will be larger. A lower value makes the model lighter, but it might not capture complex information.
P.S. Generally, training a LoRA model for 1000 steps takes about 8 minutes (roughly 500 seconds), while training for 3000 steps takes around 25 minutes (approximately 1500 seconds).
Start Training
(1) Once you finish the configuration, press the Run button to begin training.
(2) The system will train the model in the background, so you don’t have to do anything else.
Model Delivery
(1) After training is complete, you can either download the model to your computer or copy the model’s URL.
(2) Once downloaded, you can use the trigger_word to call your trained LoRA model in your local workflow.
(3) Alternatively, you can use the saved model URL on the WaveSpeedAI platform to call your trained LoRA model in any model that supports LoRA.
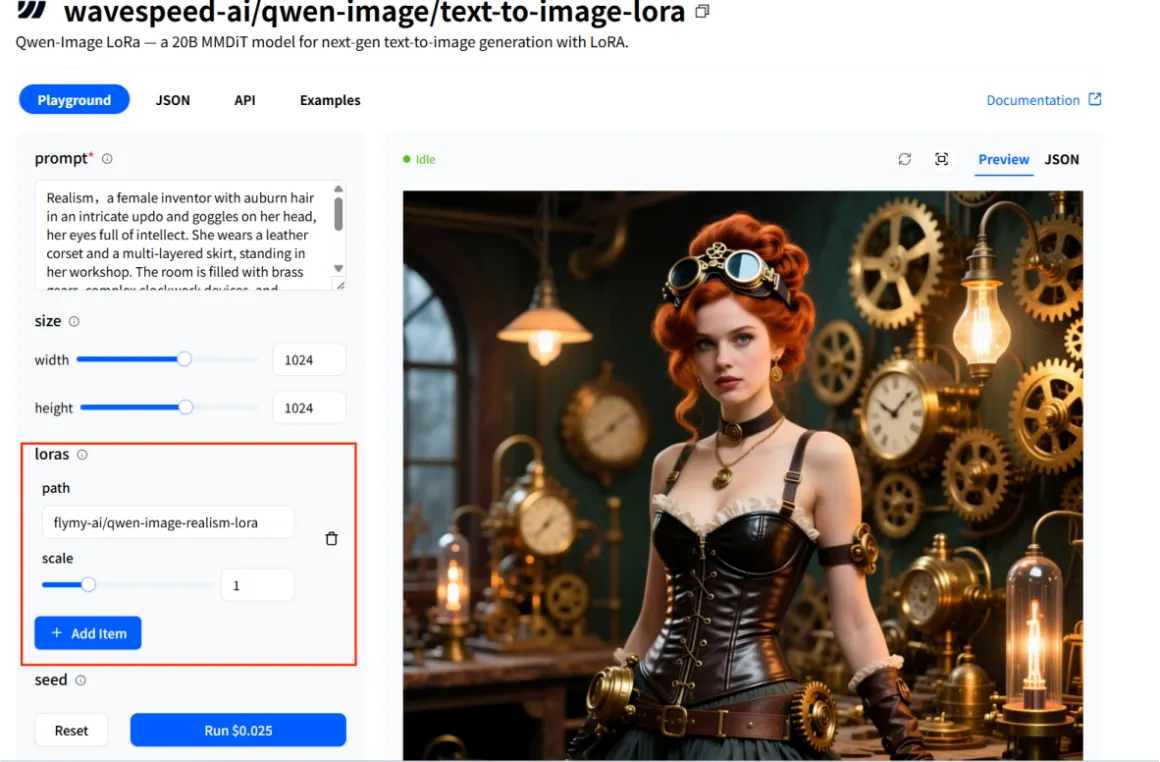
P.S. Here, let’s use the qwen-image/text-to-image-lora model as an example.
a. Click the +Add Item button, then paste the copied URL into the path field.
b. Keep the scale set to default.
c. Click Run again, and you’ll get images of the Angelina Jolie style we trained earlier.

d. You can also combine it with other prompts to produce more creative effects, such as altering the background, clothing style, or environment!
For example, we can modify the clothing based on the previous image.

How to Save Your Model Permanently
We can save your model for 7 days. If you want to use your model anytime and anywhere, you can upload it to [Hugging Face](https://huggingface.co/! Let’s learn how to create your own model URL on this platform.
First, create your own account, which I won’t detail here. Then click on your avatar in the upper right corner.
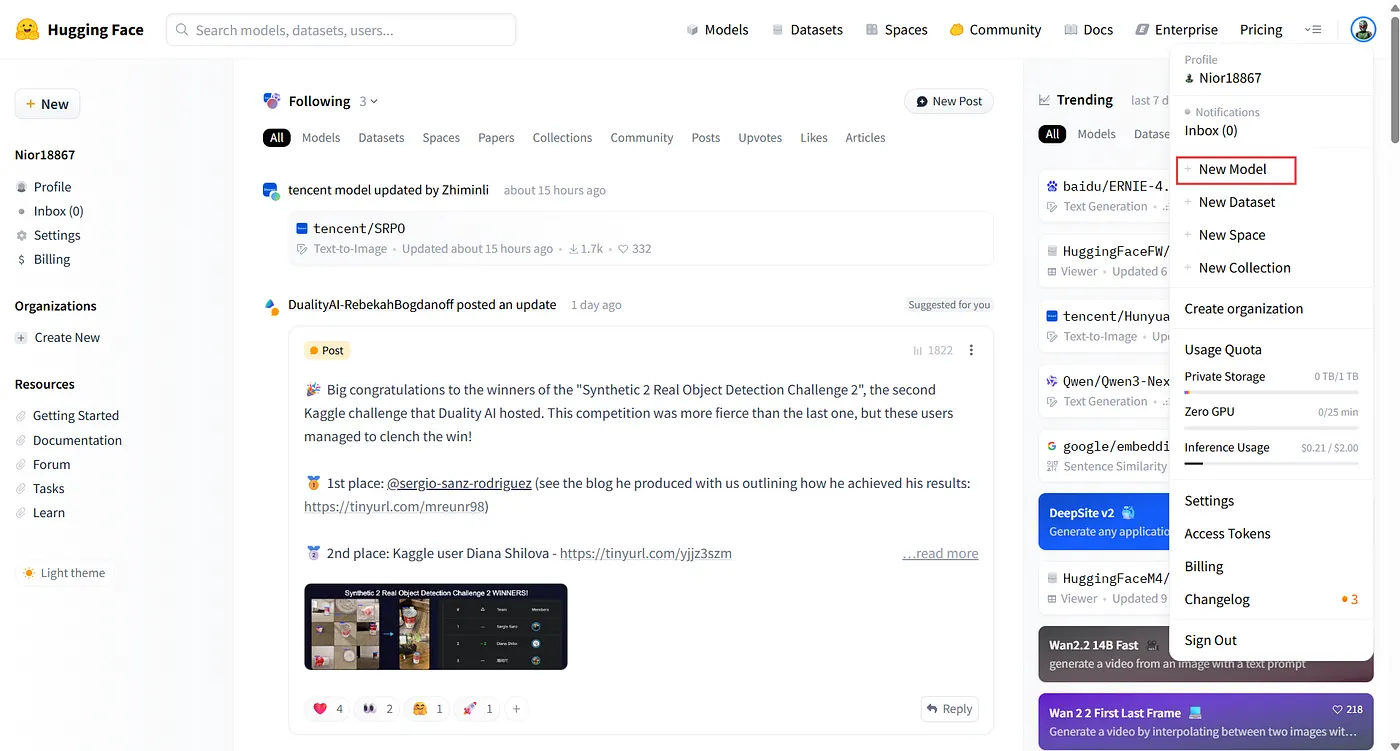
Find+New Model
In your repository, you can write a README file or a Model card to describe your model.
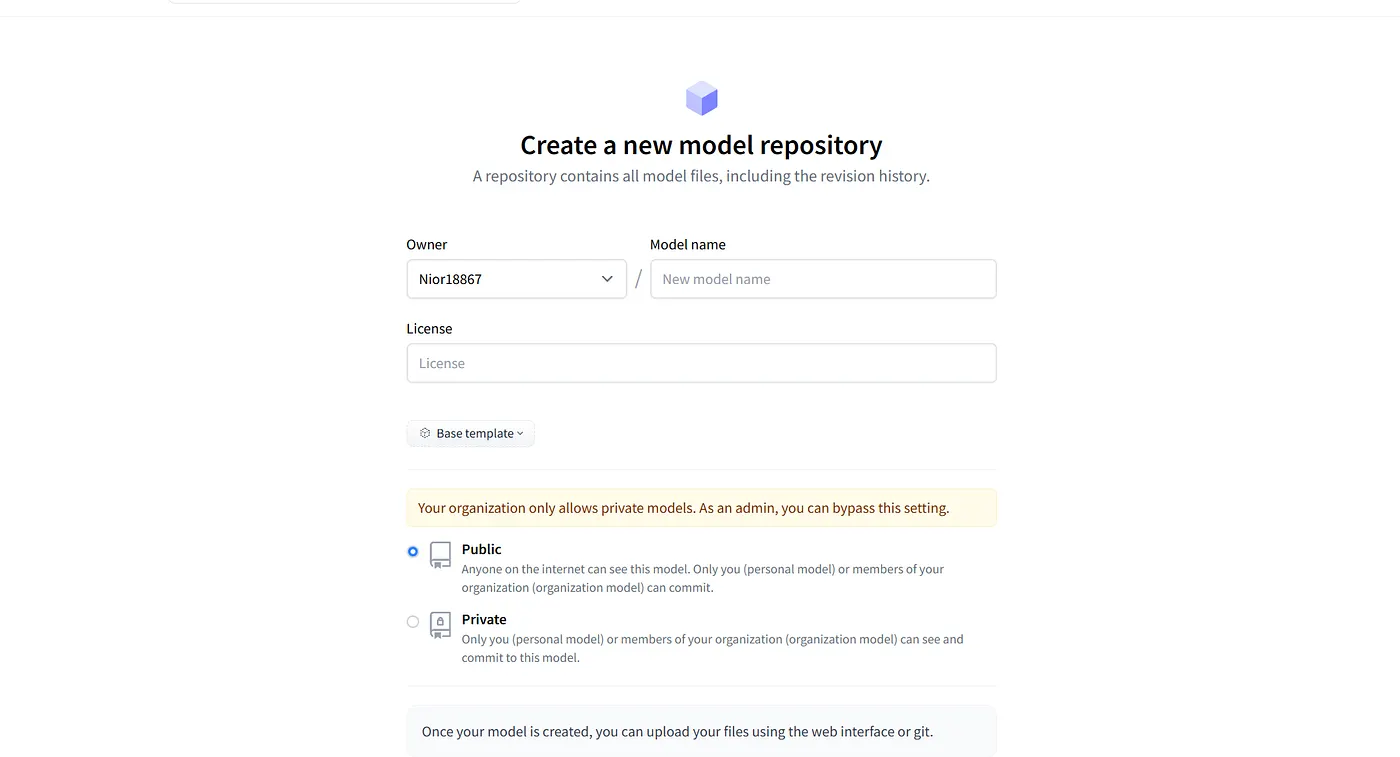 Give your model a name and choose License (Recommend apache-2.0 or mit)
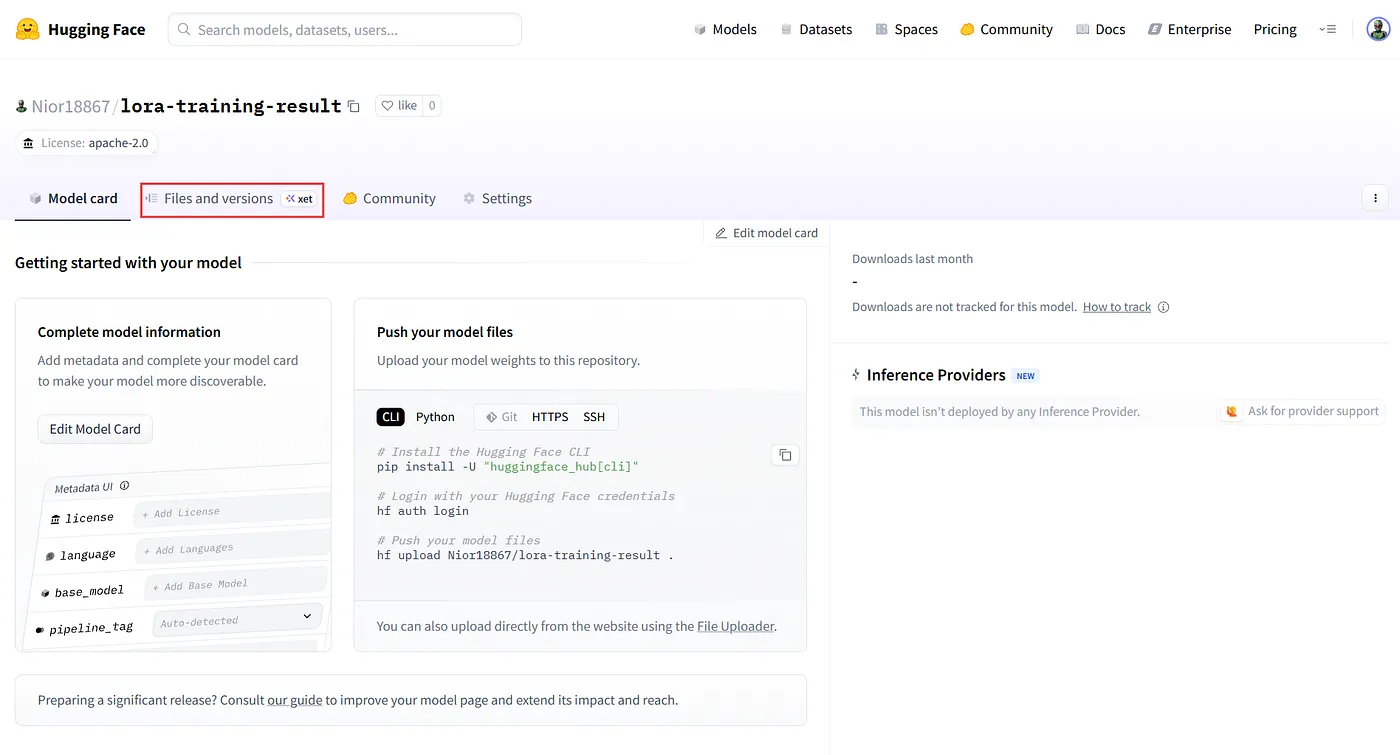 Find Files and versions
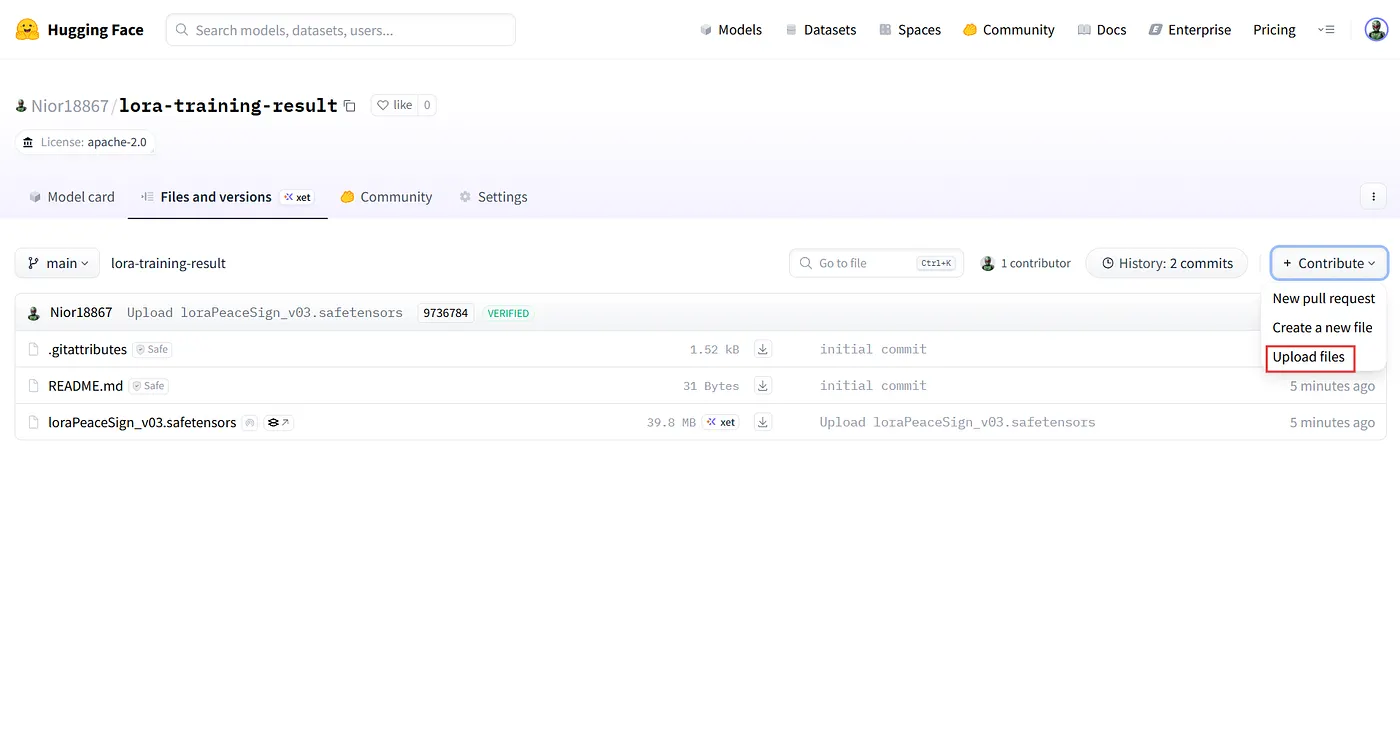 Click Upload files
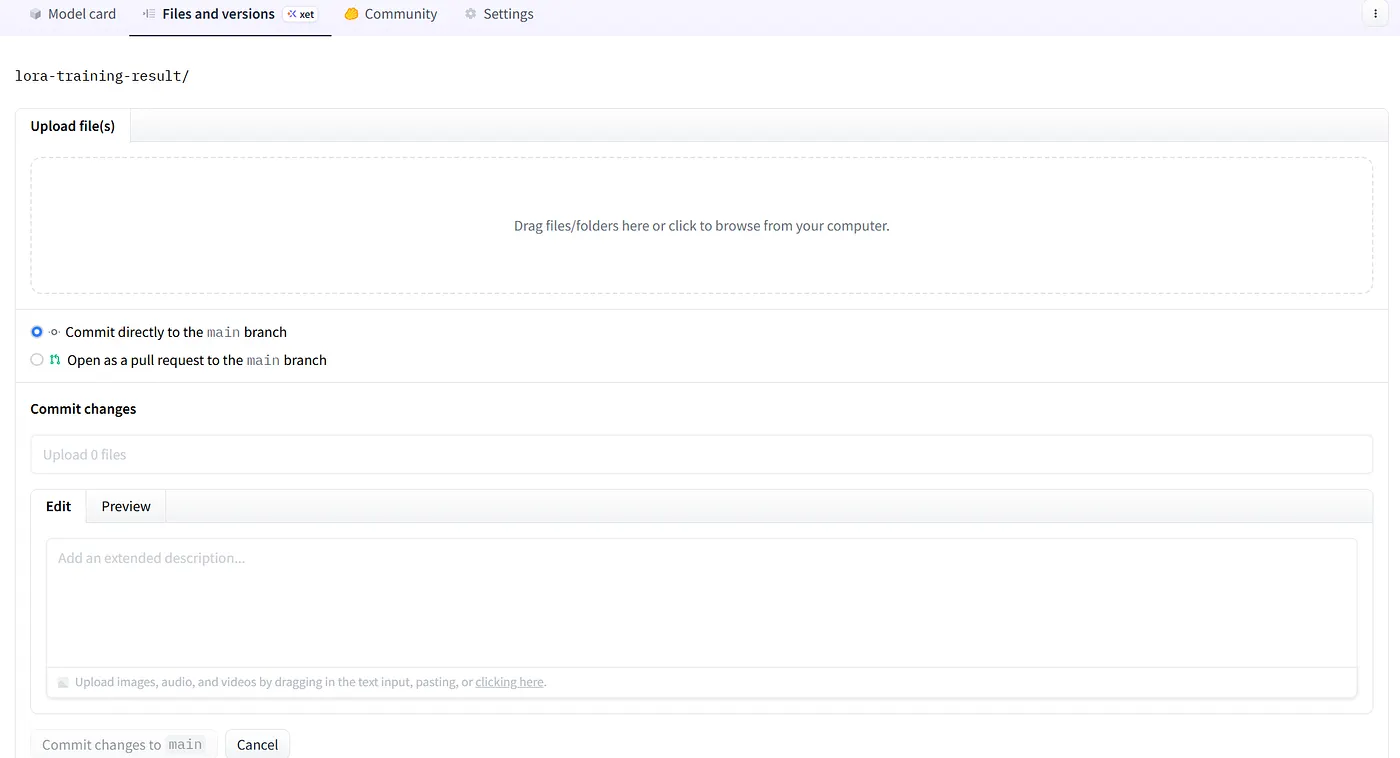 Upload your model file and click Commit changes to main
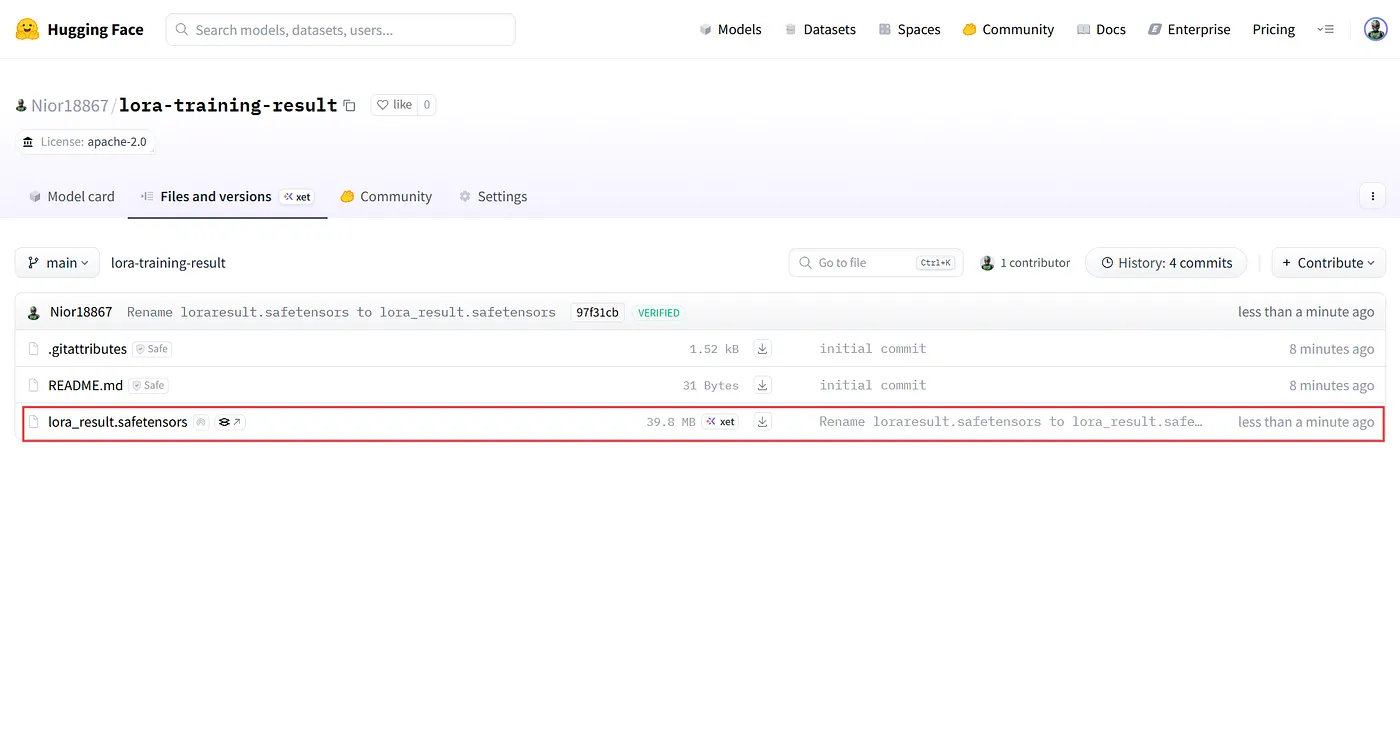 You can see your model now!
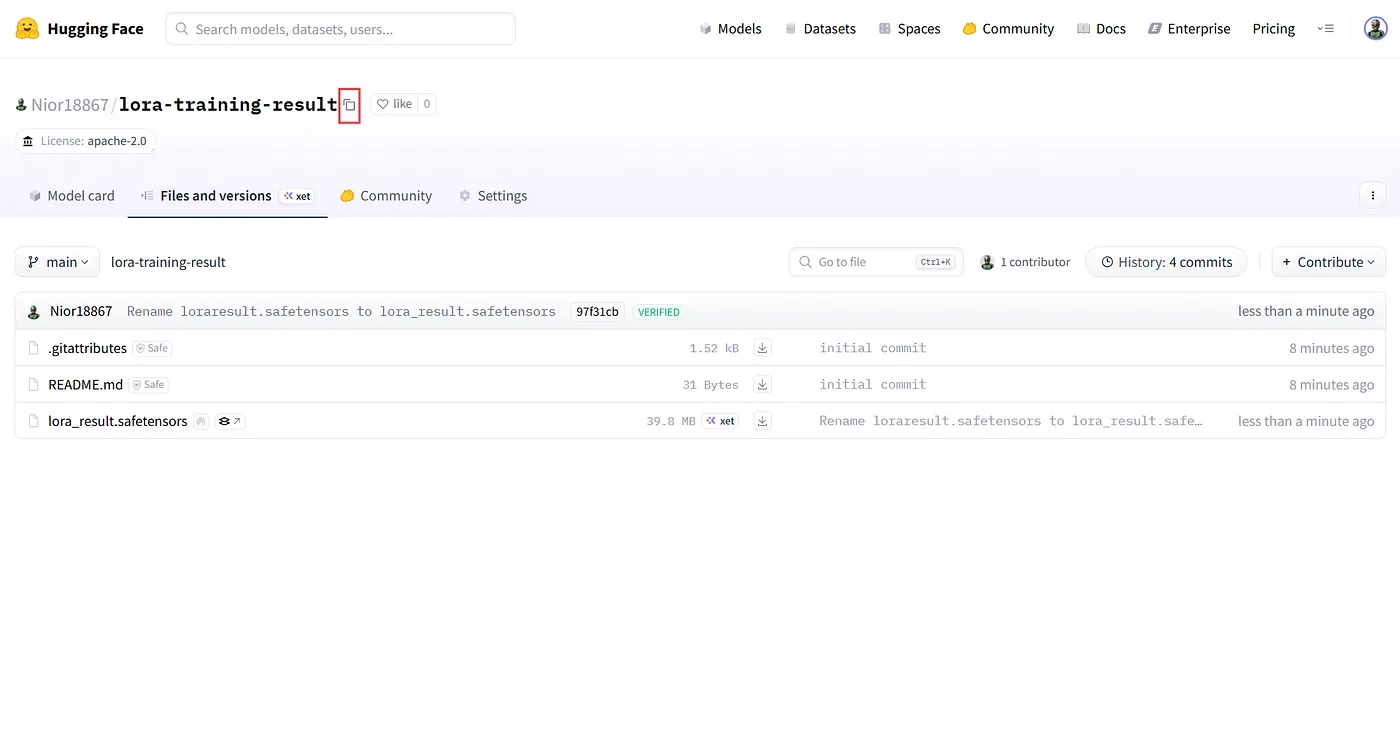
Then right-click on the “Download button” and select “Copy Link Address.” This is the permanent URL of your model. Additionally, there is an easier way to call your model. Just copy the name of your model (<owner>/<model-name>) and paste it into the playground path!
Another way to call your LoRA model
Congratulations! You can now use it on WaveSpeedAI anytime you want!
Final Thoughts
Training your own LoRA model on WaveSpeedAI is simple, fast, and incredibly rewarding. With just a small dataset and a few easy steps, you can create a personalized AI that understands your style and adapts to your creative needs.
Whether you’re an artist, designer, or just curious about AI, LoRA unlocks a new level of creative freedom. Now it’s your turn — start training, experiment with prompts, and discover how far your imagination can take you!
© 2025 WaveSpeedAI. All rights reserved.